How To Install openfortivpn on Kali Linux
In this tutorial we learn how to install openfortivpn on Kali Linux.
What is openfortivpn
openfortivpn is a client for PPP+SSL VPN tunnel services. It spawns a pppd process and operates the communication between the gateway and this process.
It is compatible with Fortinet VPNs.
There are three ways to install openfortivpn on Kali Linux . We can use apt-get , apt and aptitude . In the following sections we will describe each method. You can choose one of them.
Install openfortivpn Using apt-get
Update apt database with apt-get using the following command.
After updating apt database, We can install openfortivpn using apt-get by running the following command:
Install openfortivpn Using apt
Update apt database with apt using the following command.
After updating apt database, We can install openfortivpn using apt by running the following command:
Install openfortivpn Using aptitude
If you want to follow this method, you might need to install aptitude first since aptitude is usually not installed by default on Kali Linux. Update apt database with aptitude using the following command.
After updating apt database, We can install openfortivpn using aptitude by running the following command:
How To Uninstall openfortivpn on Kali Linux
To uninstall only the openfortivpn package we can use the following command:
Uninstall openfortivpn And Its Dependencies
To uninstall openfortivpn and its dependencies that are no longer needed by Kali Linux, we can use the command below:
Remove openfortivpn Configurations and Data
To remove openfortivpn configuration and data from Kali Linux we can use the following command:
Remove openfortivpn configuration, data, and all of its dependencies
We can use the following command to remove openfortivpn configurations, data and all of its dependencies, we can use the following command:
References
Summary
In this tutorial we learn how to install openfortivpn using different package management tools like apt, apt-get and aptitude.
How to Install FortiClient VPN on Ubuntu 20.04 LTS

FortiClient uses SSL and IPSec VPN to provide its customers with safe, efficient, reliable, and fast access to corporate networks and applications from virtually any internet-connected remote machine. FortiClient enhances remote user experience with built-in auto-connect and always-up VPN features.
In today’s guide, we will show you how to install FortiClient VPN on our machine. We have used Ubuntu 20.04 as our operating system on which we will install the VPN application. Ubuntu is a very popular, efficient, fast, and reliable distribution of Linux. This distro is based on Debian. Due to its focus on user-friendliness and stability, it is widely used by both beginners as well as experts.
Let’s get started!
Installation Guide:
Following are the steps involved in installing FortiClient VPN on our Ubuntu machine:
Step 1: Install gpg key
The very first thing that we will start with is installing the gpg key. To do that run the following command:

Step 2: Edit sources.list file
In this step, we will add a line in the sources.list file to enable installation of the application. To do that, first, go to apt directory following the command given below.

Next, open sources.list file with the editor you are comfortable with. We have used nano editor as it is the easiest to use. To open the file, run:

Once the file is open, copy this line and add it to the top of the file as shown below:

Now save the file with (CTRL + T) and exit with (CTRL + O).
Step 3: Update your system
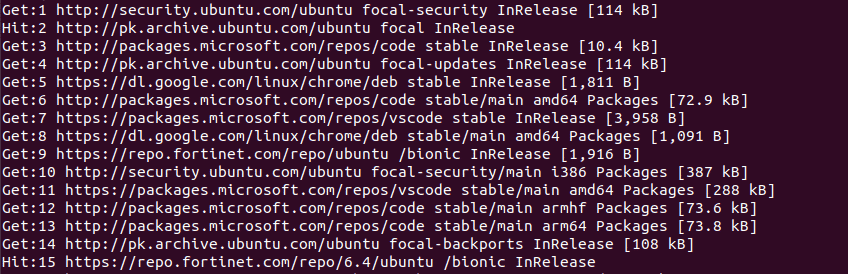
To update the recent changes we made in the file in the previous step, we will update our system. To do that run this command:

After entering the command, you will be prompted to give your sudo password. Once it is accepted, the system will begin to update like this:
Step 4: Install Forticlient VPN
Once the system is updated, we will install the VPN application using this command:

Forticlient VPN will begin to install and this is what the terminal will look like:

Step 5: Verify Installation
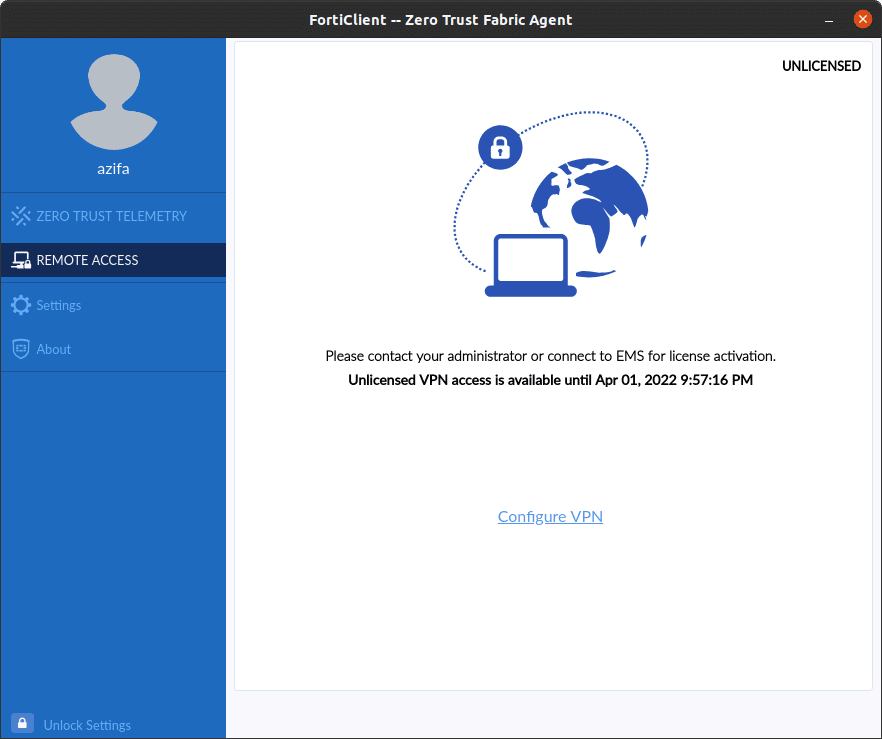
Now that we have installed the application, let’s also verify if it is working properly or not. To do that go to the start menu and search for the application. FortiClient VPN will appear on the screen. Run it to see if it is working fine.

This is how the user interface for FortiClient will appear.

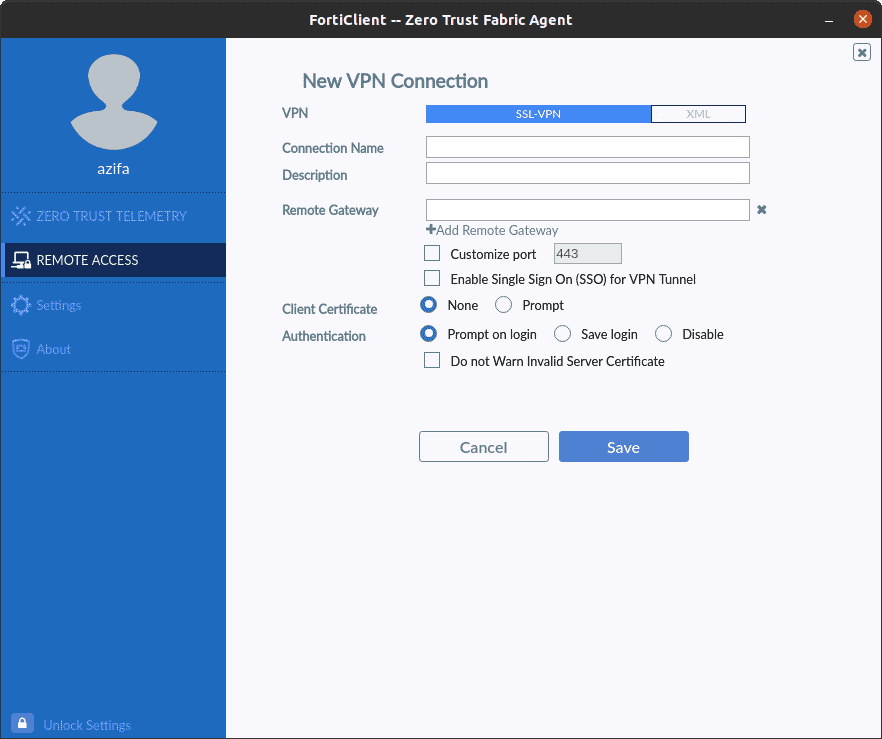
Next, go to remote access and click on configure.
Now here provide the configuration to connect through VPN.
How to uninstall FortiClient VPN from Ubuntu 20.04?
Now that we have understood how to install FortiClient VPN on our system, let’s also have a look at how to remove it from our machine. To do that we only need one simple command, and the application will be swiftly uninstalled from our Ubuntu machine. This is the command:

When the application begins to uninstall, this is what the terminal looks like:
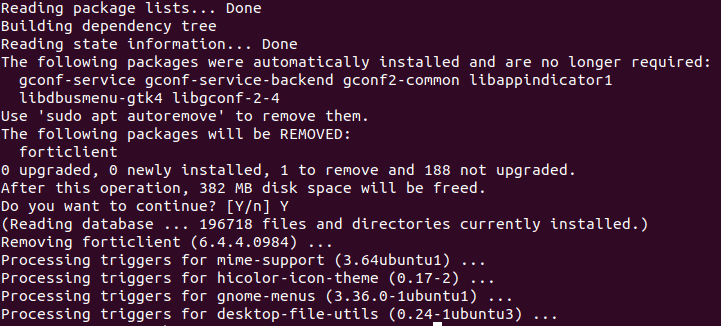
Once the process is completed, to verify the uninstallation, you can go to the start screen to check if the application still exists on the system or not.
In this tutorial, we looked at how to install FortiClient VPN in detail with the help of a few easy-to-follow commands. We also explored the process required to uninstall the application. The installation process will not take more than 5 minutes. After installing it and connecting to it, you can securely communicate on your network.
To see how you can install Open VPN on Ubuntu 20.04, check this out:

Karim Buzdar holds a degree in telecommunication engineering and holds several sysadmin certifications including CCNA RS, SCP, and ACE. As an IT engineer and technical author, he writes for various websites.
Black_Claw was NOT here! Believe me!
VPN Connect To Fortigate Via Kali Linux Using Openfortigui Compiled From Source Instead of Forticlient VPN
Yeah, the tittle said it all. It is based on openfortivpn which discontinued. It is an replacement for the closed-source Forticlient. So, let’s compile.
First, we need to obtain Openfortigui’s source.
Oh, wait. You need to install those set of tools that you need to build it. It is Build Essentials package. Alnd while we at it, why don’t we update the system, shall we?
su
apt update && apt upgrade
apt install build-essential qt5-default libssl-dev qt5keychain-dev
exit
Okay? Done. Lets pull it using git.
git clone https://github.com/theinvisible/openfortigui.git
Enter the directory and then git another submodule stuffs from there.
cd openfortigui && git submodule init && git submodule update
Okay, lets compile!
Done? Okay. Run it.
Lets create a shortcut for easy use whenever you want to double click and run it.
/Desktop
mousepad shortcutopenfortigui.desktop
Then, on mousepad, put something like this inside of it.
[Desktop Entry]
Encoding=UTF-8
Version=1.0
Type=Application
Terminal=false
Exec=/home/YOURUSERNAME/openfortigui/openfortigui/openfortigui
Name=OPENFORTIGUI
Icon=/PATH/TO/ICON
Как установить fortinet vpn на kali linux
Now a days a lot of companies relies on VPN’s to allow their employes and even customers to access their local network through the WEB in a secure way, one of the most popular VPN provider is FortiNET, the company is known by its reputation of offer reliable, secure and practical security based products.
Despite their excelent VPN product and reputation, the official FortiClient app for linux doesn’t allow the users to connect to a VPN using it, so I’ve used an unoficcial client called ForticlientSSLVpn but I’ve had a lot of headcaches due to the problems that it have, like unexpectedly lose all my configurations or my connection with the VPN, sometimes the program have just stopped to work after a system update which is very common in roling releases distributions like Arch Linux.
After struggle with it a while I discovered the Openfortivpn client which is a opensource forticlient that actually works, and in this tutorial I’ll teach you how to install and configure the Openfortisslvpn.
Instalation
I’ll provide examples using two very popular linux distributions Arch and Ubuntu keep in mind that the installation process explained below can be used in a Ubuntu or Arch based distribution without big problems.
Arch Linux:
For the porpouse of this post I’ll use yay which is a very good and enjoyable AUR helper but fell free to use your favorite AUR helper.
run the following commands:
Ubuntu:
run the following commands:
Configuration
Once you’ve finished the installation you’ll need to configure the openfortivpn dont worry it’s super easy and will take just a few steps to be done.
The config file
To avoid the need of have to type your user and password throug the command line every time you can edit the openfortivpn config file and put your own configuration there, the file is located at:
So go ahead and open the file with sudo with your text editor
The file content will be like that:
Preaty easy to know what to do now right ? You’ll have to fill each field with the apropriate information like in the example below:
Some times you want to fill the password field with a pin + real time generated token, if that’s your case delete the password field from the file and openfortivpn will ask for the password to you when you use it.
Trusted-cert config
Some times you can have the following problem:
In order to solve that you can copy the trusted-cert showed to you and put that in your config file.
Running
Once you followed the steps above all you have to do to run the openfortivpn is:
Please if you had problems running openfotivpn after read this small tutorial please tell me you can leave a comment our email me through the contact form and I’ll do my best to help you.