Как расположить три картинки вряд с подписью снизу?

Что бы я не делал, картинки либо встают колонками, либо встают вряд, но текст, который должен быть внизу, находится сбоку от картинок:

![]()
Это достаточно просто сделать при помощи:
![]()
![]()
Дизайн сайта / логотип © 2023 Stack Exchange Inc; пользовательские материалы лицензированы в соответствии с CC BY-SA . rev 2023.5.24.43458
Нажимая «Принять все файлы cookie» вы соглашаетесь, что Stack Exchange может хранить файлы cookie на вашем устройстве и раскрывать информацию в соответствии с нашей Политикой в отношении файлов cookie.
How To Create An Image Gallery With CSS Grid
![]()
In today’s article, we will explore how we can implement an Image Gallery with mostly CSS Grid.
Image Gallery is a great user interface because it allows you to group all the photos in one area. It also provides a great user experience because the user will be able to view all the photos in a single view.
Here’s an example of it:
Image Gallery adjusts the layout depending on the number of images. The maximum it can show in the foreground in this example is 4 images. Then the rest is hidden.
Structuring Our Markup
Let us now design our HTML so that we will have an idea of what it will look like.
With this HTML markup, we can now get the idea of how are we going to populate it, how we are going to design it and how the data will flow. That’s important!
We have 6 gallery items, and what we want to accomplish is to show 4 images and hide the rest. In the 4th or last image, we have a “+” overlay on it.
We will show more examples with it but that is the basic structure of it.
We will also not add JavaScript to this tutorial to keep it pure with CSS Grid. Let me know if you wish to!
Styling It
Now that we have the structure on hand, let us now starting styling it!
We created a class three-cols-gallery so that other images can expand from start to end. Check out the first image, it was able to “span” from the first column until the end.
With CSS Grid, you think mostly in columns and rows on how you will achieve such a design.
To display the “+6 See More”, we add a data attribute in the markup
and we retrieve it from the CSS. We use that approach so that when you integrate it with some JavaScript you can add dynamic value to it! It’s all ready.
To summarize the idea, we use CSS Grid so we can think and apply thinking in “columns” and “rows”. With that, we are able to span a gallery item depending on the requirement. In our case, we were able to span the first item from the first column up to the last column.
We use the nth-of-type selector to “grab” the gallery item from the CSS. Through that, we were able to control each gallery item if we are going to show them or hide.
Lastly, we use pseudo ::after to retrieve a dynamic value from the markup itself and also to add overlay in the gallery item. Very clever!
Bringing It All Together
We’ve implemented now the Image Gallery with CSS Grid! This UI design is a great opportunity to show how many things you can do with CSS Grid! Here’s the source of it. Play around it and let me know! I have left a small thing for you there to fix and explore, heh.
A lot of people have done amazing things with CSS Grid and if I’ve helped you get more curious, be sure to check around some designs and try to do it!
If you’re also interested in reading another CSS Grid article, I’ve written another article about it check it out here:
Как расположить несколько изображений в ряд по ширине экрана?
Как расположить три изображения в один ряд по горизонтали как в макете, чтобы они были по ширине всего экрана, масштабировались при увеличении/уменьшении окна браузера, и при это не обрезались? Только с помощью html/css.
Изначально изображения довольно высокого разрешения.
- Вопрос задан более трёх лет назад
- 2536 просмотров
- Вконтакте

- Вконтакте
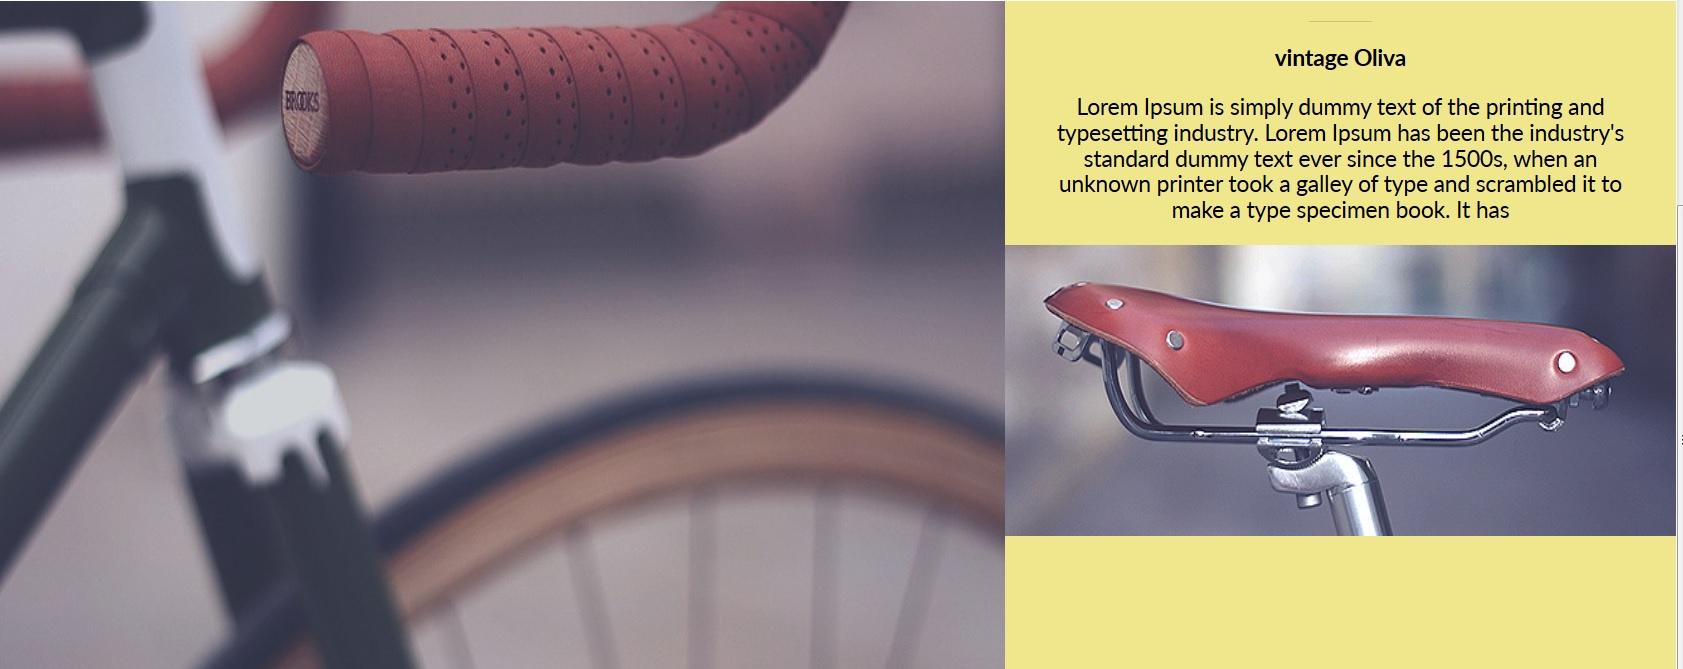
Огромное спасибо, флексы помогли. Осталась только одна небольшая проблема — изображение велосипеда справа не прибивается к нижнему краю. background-position: bottom не работает. А если указать для изображение верхний padding в em, при увеличии окна браузера изображение съезжает ниже блока почему-то.
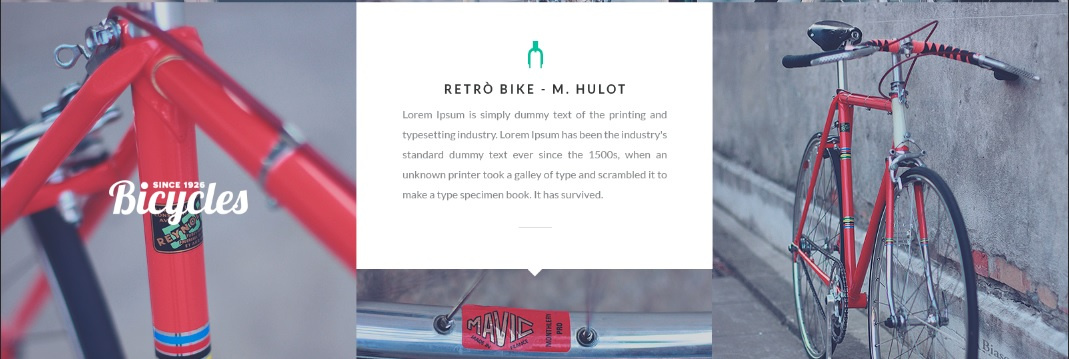
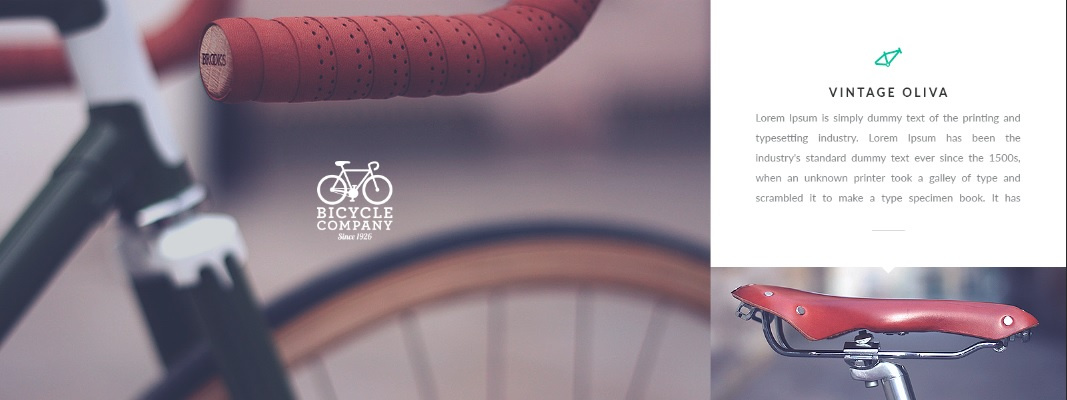
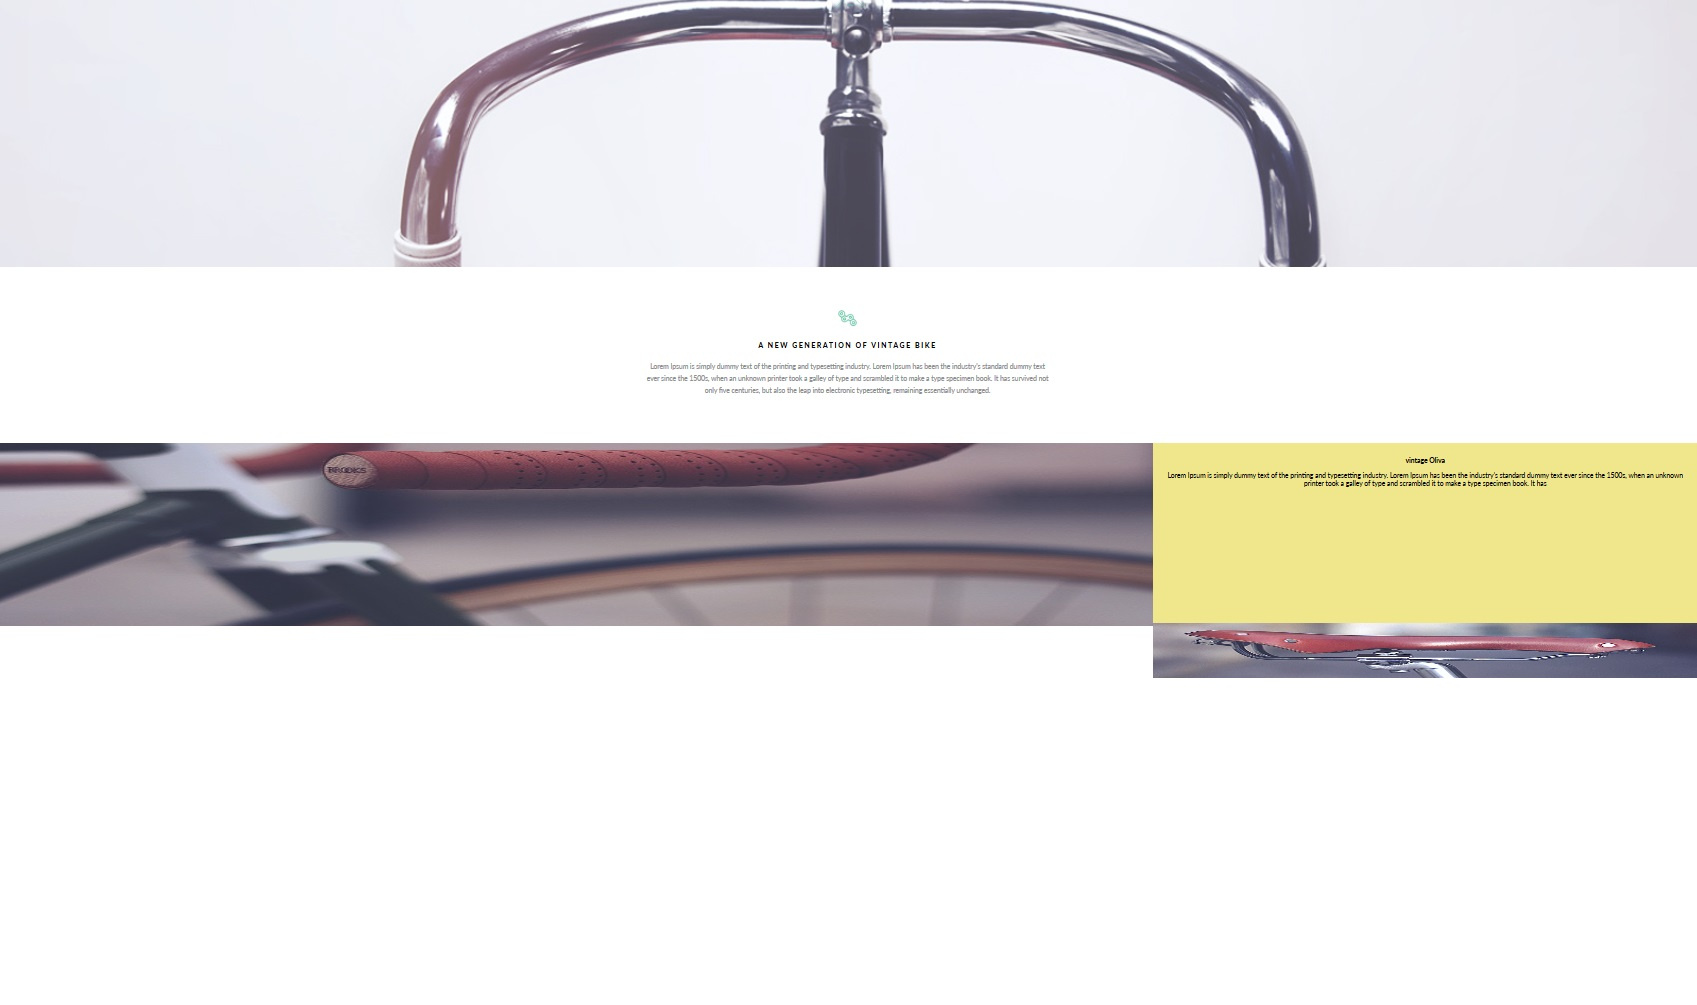
Как должно быть:
DarkMiike, сделайте песочницу на jsfiddle.net
Я имею ввиду правое изображение, .right-fon.
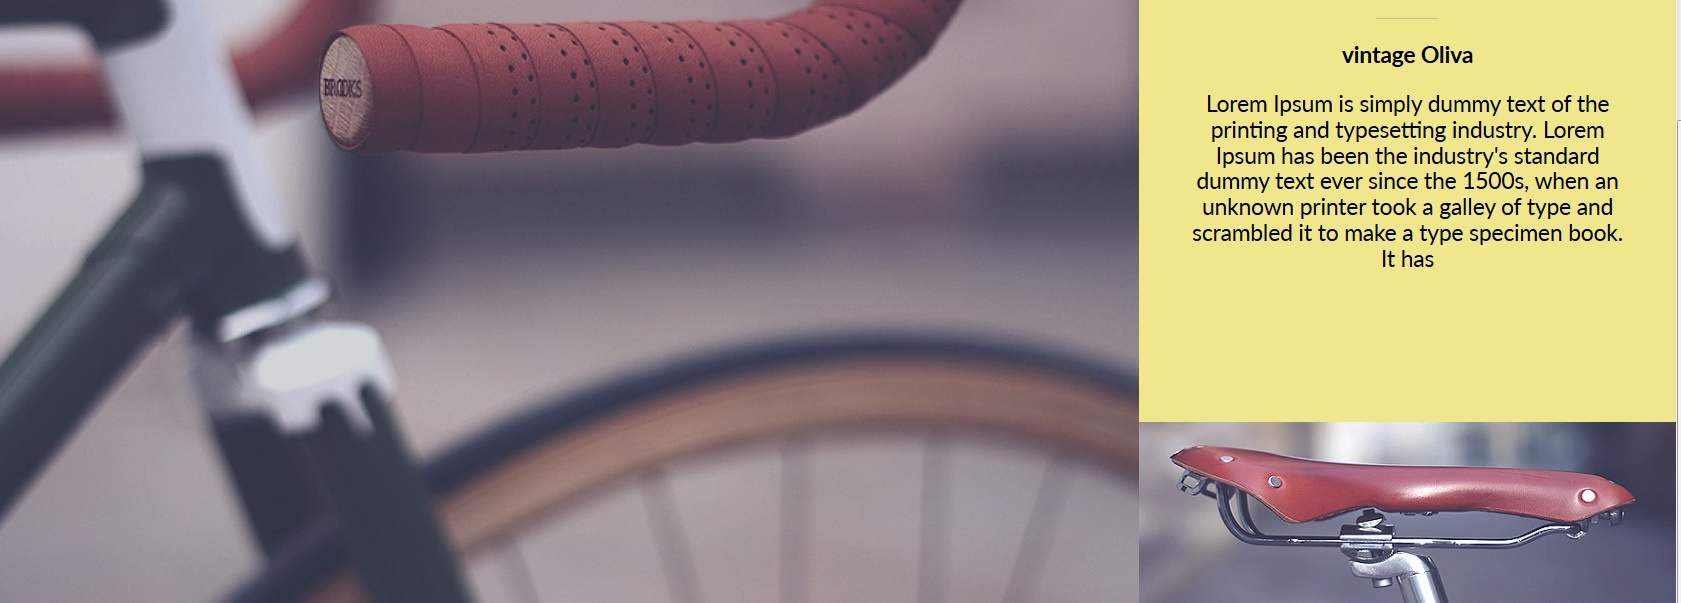
Мне нужно опустить его вниз блока, как на последней картинке, но не получается..
Если пишу для изображения
ничего не происходит (видимо потому что изображение в диве, а не самом css.
Если пишу для него padding-top: 23.8% ;
то при нормально масштабе оно ровно внизу, а при увеличении оно «съезжает» еще ниже блока..
В общем наворотил я костылей мама не горюй,к сожалению только таким кривоватым кодом удалось получить почти то, что нужно, осталось только как-то правое изображение прибить к низу блока..
DarkMiike, что-то странное вы творите. Свойства фона применяются к фоновым изображениям (что я пишу..). У вас нет фоновых изображений.
Чтобы картинка оказалась внизу, можно:
— использовать align-content для многострочного флекса
— повернуть главную ось флексбокса по вертикали и задать картинке верхний margin auto
— прибить её туда абсолютом, не забыв сделать padding, чтобы текст не залез под картинку.