HTML Starter Template – A Basic HTML5 Boilerplate for index.html

Dillion Megida
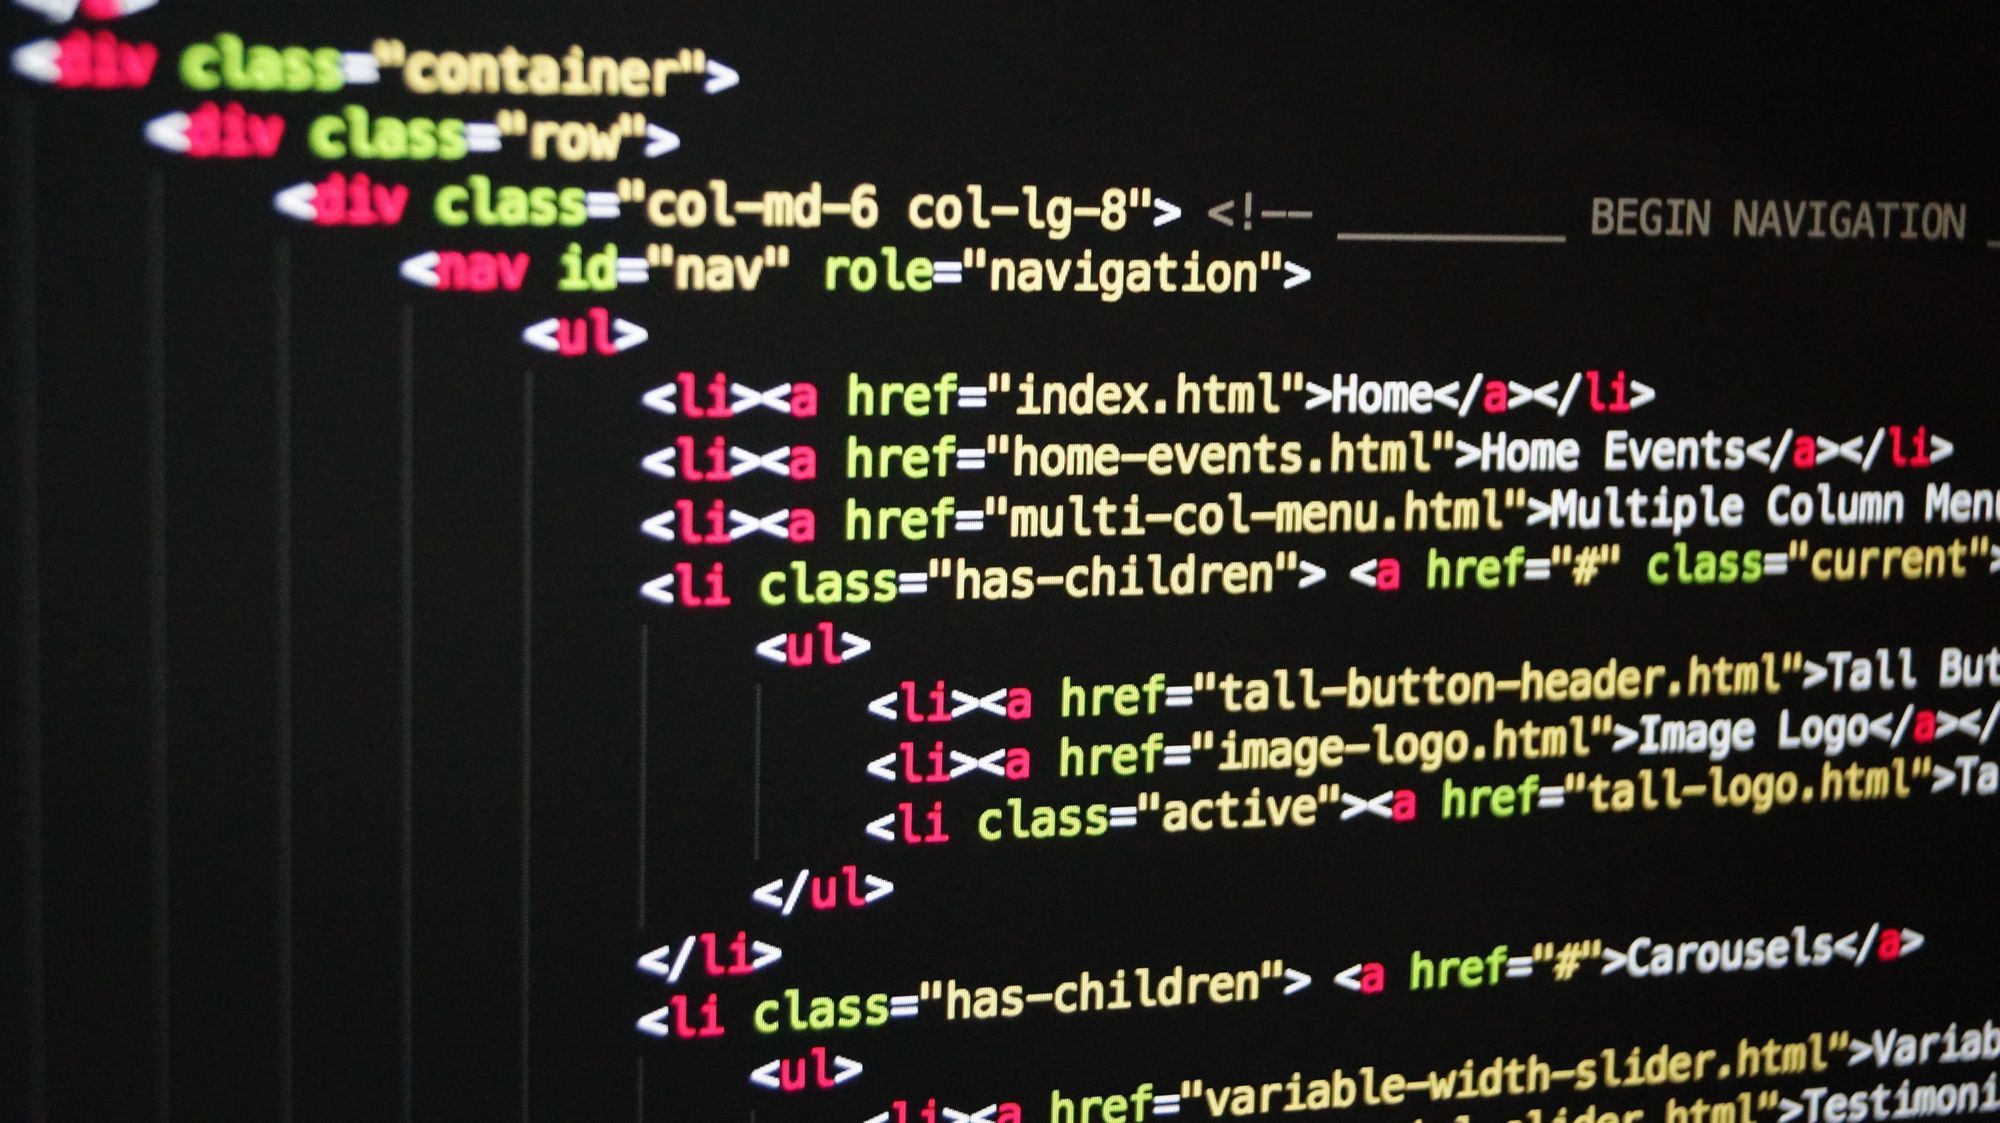
HTML has different tags, some of which have semantic meanings. A basic boilerplate for an HTML file looks like this:
In the rest of this article, I’ll explain what each part of this boilerplate means.
HTML Boilerplate Syntax
DOCTYPE
This element is the doctype declaration of the HTML file. <!DOCTYPE html> tells the browser to render the HTML codes as HTML5 (as opposed to some other version of HTML).
This is important, because without this declaration, HTML5 elements like section , article , and so on may not be rendered correctly.
html tag
The html tag is the root of the HTML document. It houses the head tag, the body tag, and every other HTML element (except the DOCTYPE) used in your website.
It also has the lang attribute, which you can use to specify the language of the text content on a website. The default value is «unknown», so it is recommended that you always specify a language.
Defining a language helps screen readers read words correctly and helps search engines return language-specific search results.
head tag
The head tag houses the metadata of your website. These are visually invisible data to the user, but they provide information about your website’s content. Search engines especially use this data to rank your website.
Metadata in the head tag includes meta tags, title tags, link tags, scripts, stylesheets, and more.
meta tags
The meta tag is a metadata element used to add more metadata to your website than the kind that non-meta tags like title provide.
You can use these tags for various purposes:
- adding metadata for social media platforms to create link previews
- adding a description for your website
- adding a character encoding for your website
- and many more.
Search engines, social media platforms, and web services use this metadata to understand the content of your website and determine how to present them to users.
title tag
The title tag is used to specify a title for your website. Your browser uses this to display a title at the title bar:

This tag also helps search engines show titles for your website on their search results:

link tag
You use the link tag, as the name implies, to link to another document. Usually, this establishes different kinds of relationships between the current document and a separate document.
For example, as seen in the code block above, we’ve established a «stylesheet» document relationship with the styles.css file.
The most common use of this tag is to add stylesheets to a document and to also add favicons to a website:
A favicon is a small image close to the title of the webpage, as seen below:

body tag
The body tag houses the body content of a website, which is visible to users. Although non-visible elements like style and script can also be added here, most body tags are usually visible.
From headings to paragraphs to media and lots more, those elements are added here. Any element not found here (which could be included in the head tag) will not be shown on the screen.
main tag
The main tag specifies the essential content of a website. This would be the content related to the website’s title.
For example, a blog post page. The social media sharing on the left, advertisements on the right, header, and footer are minor parts of the web page. The post itself showing the cover image, the title, and post text content is the central part, which would be in the main element.
h1 tag
HTML has different heading elements which are h1 , h2 , h3 , h4 , h5 and h6 . Heading elements are used to describe different sections of a web page. And these elements have an order, with the h1 being the highest.
You should only have one h1 element on a webpage as this starts the main section. And then, you have other sections and subsections for which you can use the other heading elements.
Also, note that you shouldn’t skip headings. For example, you shouldn’t use an h4 element after using an h2 element. A good structure could be like this:
From this code, you can see how the heading levels specify their position in sections and subsections.
Wrap up
In this piece, we’ve seen an HTML starter boilerplate and what each tag used in this template means.
This list of elements is non-exhaustive as many more elements can be found in the head tag and the body tag, with numerous attributes, too.
Как называется эта мода на чистый HTML без наворотов (читал про это недавно)?
По-моему читал где то в англоязычном интернете. Было что то вроде публичного письма, мол контент это главное. HTML + семантическая разметка больше ничего и не надо. Оформлена статья была соответственно на простом HTML.
PS Я ни к чему не призываю! Люблю CSS, JS и даже PHP 😀
- Вопрос задан более трёх лет назад
- 2277 просмотров
Оценить 8 комментариев
- Вконтакте


- Вконтакте

- Вконтакте

- Вконтакте


Нормальный проект без CSS не сделаешь. Например, большой портал. Без JS спокойно можно обойтись. Но без CSS мы все вернемся в 90-е, где такими сайтами кишило. Современная молодежь будет «фекать» на такие сайты. Да, можно и на чистом HTML делать, но сайт по продаже ювелирных изделий, где пасутся только один блондинки с розовым взглядом на мир, вызовет только отвращение, чем пользу. Можно сделать сайты для чтения книг онлайн на чистом HTML. Там CSS нафиг никому не нужен.
Сейчас сайты грузят ненужными Javascript-ами. Даже взять те самые темы вордпресса. Как там пишут в описании: harder, better, faster, stronger. А там столько скриптов и паралаксов навешано, что среднячковый комп, бедолага, вешаться начинает. Эх..
Мое мнение по поводу таких трендов следующее. Групка каких-то америкоских чудаков решила перевернуть мнение человечества о представлении сайтов, далая разработку неудобной и скучной. Вы сэкономите пару килобайт, но потеряете кучу нервов. Херня все это, рябята, расходимся.
- Вконтакте

Зато используя чистый html наш сайт будет 100% адаптивный, под любые экраны!
Но на мой взгляд это целое искусство. Нужно очень долго подбирать шрифт, в нужном месте делать отступы, всё «отверять-выверять» по «золотому сечению», в нужном месте выделять «жирным-полужирным» и т.д.
Style your next blog with vanilla HTML. No CSS. ��
For adding style to your websites, we need something called CSS HTML.
. said no one ever.
But what if we make it possible? Of course, our browsers understand the Cascading Style Sheets (CSS) to add styles to the HTML elements. It can’t just use HTML to both create elements and style them together.
Let’s take an edge case. You need to quickly develop a simple personal blogpost. You would usually seek out for a framework/library or some template to start. But you see, the more heavy thing you add to stuff which can be done with bare-bones can be a bit intimidating both for your implementation and website performance. So, we tend to use simple HTML for the content/structure and CSS for styling.
Dudes at XZ made something with the classless CSS concept by which you only write the required HTML syntax and boom, your styles will be automatically be applied.
Is this some dark magic? Nope. It’s a
4.5kb framework. new.css.
Also, not-just-another CSS framework ��
So, what’s the deal? Do you need to use this in your project everytime for styling? No no no!
new.css is a classless CSS framework to write modern websites using only HTML.
This is specifically useful for small projects, your portfolio site or your personal blog posts where there’s not a heavy need of UI customisation. Also, if you actually hate writing CSS (for whatever reason because ideally you shouldn’t ಠಿ_ಠ), you will find this utterly easy to style.
new.css focusses and gives the lost importance to the semantic HTML. You just write HTML code throughout and the result will be a nice-looking webpage.
Okay, enough of the intro. I see you’re interested in making stuff instead of reading this entire sentence which I deliberately wrote that long.
Let’s style a webpage without any styling! ��
I feel like a ninja writing the above statement. We’ll make this (click the HTML button below to see the entire result):
So, who’s ready to fall in love with HTML. again?
Before we get out hands dirty with HTML code, we need to add the new.css stylesheets which are actually like a ‘brain’ to our blog styling.
Just before you end the <head> tag, add the following lines:
Exit fullscreen mode
The first one is the CSS file for the default font used i.e. Inter. The latter one is the actual stylesheet for adding the relevant styles you see.
If you want you get the Terminal theme which I used to make it a little nerdy. This can be done by adding another <link> which points to https://newcss.net/theme/terminal.css . Okay, now we’re ready.
-> ���� Make the header and the blog heading
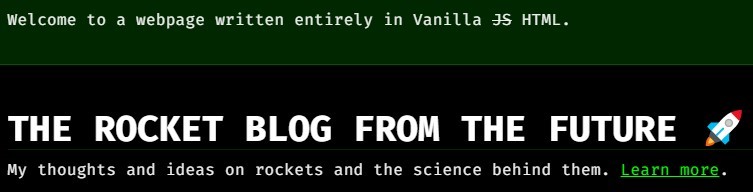
In your favourite editor (or an online one like CodePen), use emmet to generate the <header> .
Next, we have the heading part of our blog. We use the regular <h1> tag for the heading and the <p> tag for the subheading. All the other tags can be used wherever you like to. So, I added <a> to use the hyperlink which goes to my About.me page.
To add any spacing (which we refer to as margin or padding space in CSS), just add the line break tag <br> .
Exit fullscreen mode
-> ���� Make the actual article card
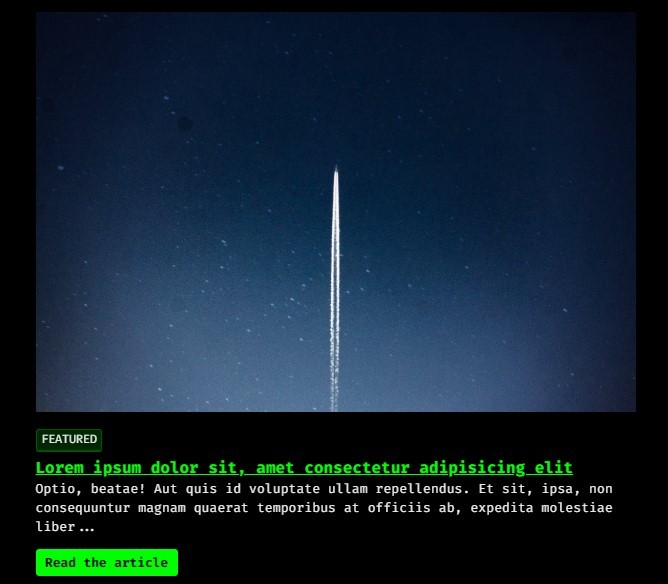
It all comes down to your creativity and how much you know different elements of HTML to make something like this. By no means, this is a perfect card layout. We need to remember that we’re only using the HTML code here to create this so we have zero control on CSS.
Let’s break down the not-so-complex card. First, we have the image for the article, a tag, the article title, description and at last a button which should open up the full article.
We add the following code to make this:
Exit fullscreen mode
I’ve used an image from Pexels, an excellent resource for stock photos which we can use for free. To add the tag, I’ve used the <kbd> tag which stands for The Keyboard Input element. It’s typically used to represent a keyboard key like shift .
Notice we have an anchor <a> tag inside the <h4> so that the article title is clickable and can be redirected to a new location. For the demo, it’s just # . Same goes for the <button> .
Our first article card should be up and running! ��
-> ���� Add the card break elements
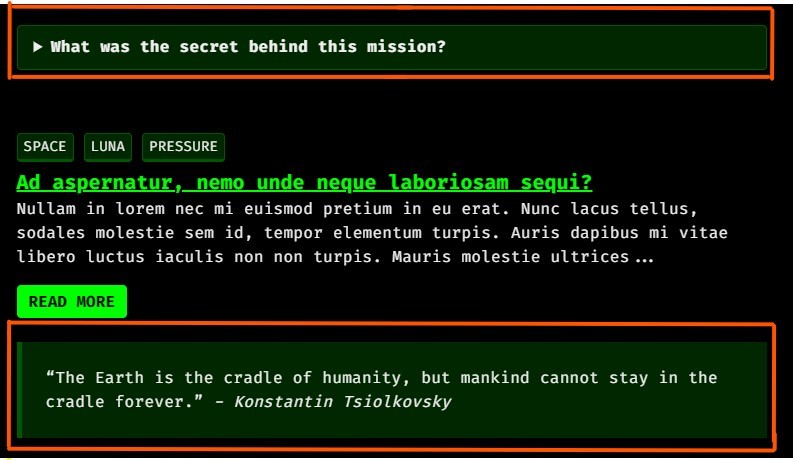
The two elements are the ones having the red border around them.
The first one is the Details disclosure element represented by <details> . This is very useful when you have to hide the information initially and only by clicking the <summary> element, you can see the entire info. You can put any other HTML element alongside the <summary> . For fun, I used a GIF :’)
Exit fullscreen mode
The next one is the regular quote element represented by <blockquote> .
Exit fullscreen mode
This simply contains a sentence from a source. Notice the use of <i> to format the name in italics.
It’s done! So, how does it feel to write no CSS? ��
Where to next? ��
If you ask me, this can be used to make quick and easy webpages. But I won’t use this much for my personal or professional projects simply because first, I LOVE CSS, second, I need a lot of customisation in styling. Who doesn’t love centring items! ��
- Go ahead and if you can then contribute to this awesome framework:
xz / new.css
A classless CSS framework to write modern websites using only HTML.
new.css
new.css
A classless CSS framework to write modern websites using only HTML. It weighs 4.8kb.
All it does is set some sensible defaults and styles your HTML to look reasonable. It’s perfect for:
- A dead-simple blog
- Collecting your most used links
- Making a simple «about me» site
- Rendering markdown-generated HTML
Table of Contents
- Usage
- Themes
- Theme Library
- Customizing Themes
Usage
Add this line to the end of your HTML’s <head> :
Exit fullscreen mode
If you’d like the font Inter as well (recommended), add this line as well:
Exit fullscreen mode
Exit fullscreen mode
Exit fullscreen mode
Themes
new.css uses a color palette that can be easily customized. These are declared as a CSS variable in the :root attribute.
Theme Library
Make your own custom theme which matches the brand guide.
If you’re stuck somewhere, then join their Discord server!
I made another Pen from new.css. Take a look ��.
May we suggest cleaning out your fans? Or earplugs. ��
HTML styling без СSS
Всем привет! Прошу прощения за элементарные вопросы, но я учусь, учусь сам и спросить мне некого. В общем осваиваю HLML, до CSS ещё не дошёл. При стандартной установке параграфов и дивов — у меня текст растягивается по всей ширине экрана браузера, как и должно быть. Я понимаю, что CSS всё это поправит, но есть ли вариант внутри самого HTML документа разметит атрибуты дива или абзаца так, чтобы можно было сжать текст и сделать его наряднее?
Ну то же самое применяемо и для p и всего остального.
Весь статичный CSS по сути ничем не отличается от style=». » в HTML.
Просто, когда вы добавляете все стили в сам HTML, со временем код становится очень запутанным. А если вдруг хочется что-то в нем изменить — приходится возвращаться и менять всё, во всех одинаковых style=». «
Особенно сложно работать с таблицами на чистом HTML. И тут ему на помощь приходит CSS — по сути, то же самое, просто записанное в другом месте. Вы просто собираете все стили вверху страницы, под тегом <style> , оставляя HTML таким же простым, каким он и должен быть.
Возвращаясь к тому коду, что был написан вначале. Его эквивалент на CSS:
Что изменилось — всего лишь вместо style=». » дали вашему элементу новое имя (класс), к которому можно ссылаться через CSS и прикрутить к нему любой стиль. А если таких class=»bubu» на странице будет 100 штук и вам захочется что-то в них изменить — всего лишь надо будет это изменение внести в .bubu <. >один раз. а не по 100 раз на каждом отдельном HTML-элементе.
Поэтому. параллельно с HTML как-раз надо CSS подтягивать. А вот позже уже в CSS можно научиться менять стили элементов при наведении курсора (CSS:hover), при клике (CSS:active) — делая страницу более «живой».