Canvas pack python что это
Для позиционирования виджетов в контейнере применяются различные способы. Один из них представляет вызов у виджета метода pack() . Этот метод принимает следующие параметры:
expand : если равно True, то виджет заполняет все пространство контейнера.
fill : определяет, будет ли виджет растягиваться, чтобы заполнить свободное пространство вокруг. Этот параметр может принимать следующие значения: NONE (по умолчанию, элемент не растягивается), X (элемент растягивается только по горизонтали), Y (элемент растягивается только по вертикали) и BOTH (элемент растягивается по вертикали и горизонтали).
anchor : помещает виджет в определенной части контейнера. Может принимать значения n, e, s, w, ne, nw, se, sw, c, которые являются сокращениями от Noth(север — вверх), South (юг — низ), East (восток — правая сторона), West (запад — левая сторона) и Center (по центру). Например, значение nw указывает на верхний левый угол
side : выравнивает виджет по одной из сторон контейнера. Может принимать значения: TOP (по умолчанию, выравнивается по верхней стороне контейнера), BOTTOM (выравнивание по нижней стороне), LEFT (выравнивание по левой стороне), RIGHT (выравнивание по правой стороне).
ipadx : устанавливает отступ содержимого виджета от его границы по горизонтали.
ipady : устанавливают отступ содержимого виджета от его границы по вертикали.
padx : устанавливает отступ виджета от границ контейнера по горизонтали.
pady : устанавливает отступ виджета от границ контейнера по вертикали.
Растяжение виджета
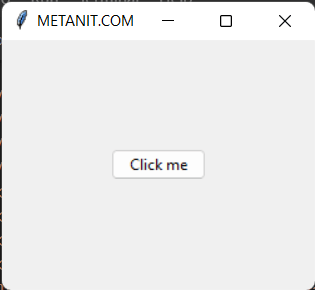
Для растяжения виджета применяется параметру expand передается значение True (или соответствующее число). Причем при отсутствии других параметров позиционирования значение expand=True позволяет поместить виджет по центру:
Anchor
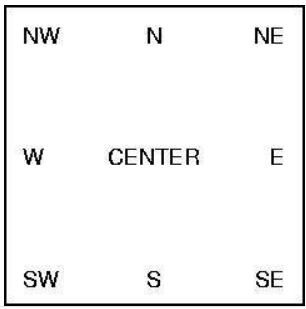
Параметр anchor помещает виджет в определенной части контейнера. Может принимать следующие значения:
n : положение вверху по центру
e : положение в правой части контейнера по центру
s : положение внизу по центру
w : положение в левой части контейнера по центру
nw : положение в верхнем левом углу
ne : положение в верхнем правом углу
se : положение в нижнем правом углу
sw : положение в нижнем левом углу
center : положение центру
Схематически это выглядит следующим образом:
Стоит отметить, что значение в кавычках для параметра anchor передается в нижнем регистре, без кавычек — в верхнем регистре
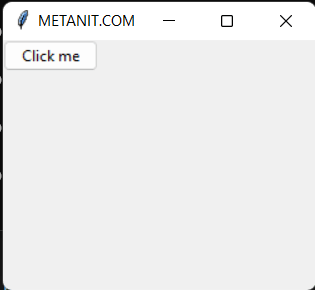
Также стоит отметить, что для некоторых сценариев (например, помещение в нижней части контейнера) может потребоваться указать для параметра expand значение True. Например, поместим кнопку в верхнем левом углу:
Заполнение контейнера
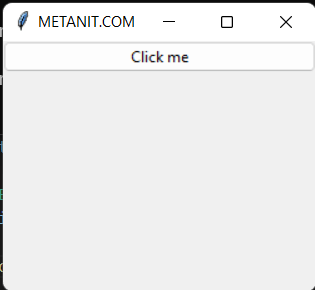
Параметр fill позволяет заполнить пространство контейнер по вертикали (значение X), по вертикали (значение Y) или по обеим сторонам (значение BOTH). По умолчанию значение NONE, при котором заполнение контейнера отсутствует. Например, заполним все пространство контейнера по горизонтали
Для заполнения контейнера по всем сторонам также требуется установить параметр expand = True
Отступы
Параметры padx и pady позволяют указать отступы виджета от границ контейнера:
Здесь кнопка смещена относительно верхнего левого угла на 20 единиц вправо и на 30 единиц вниз

Выше устанавливался общий отступ от левой и правой стороны и общий отступ от верхней и нижней кромки контейнера. Поскольку кнопка позиционировалась в верхнем левом углу и имеела небольшие размеры, отступ от нижней и правой кромки контейнера нас не особо интересовали. Однако при желании мы можем задать отдельно два отступа от правой и левой границы и отдельно два отступа от верхней и нижней границ:
В данном случае отступ слева — 20 единиц, а справа — 60 единиц
Параметры ipadx и ipady позволяют указать отступы содержимого виджета от границ виджета по горизонтали и вертикали соответственно:
The Tkinter Pack Geometry Manager
The Pack geometry manager packs widgets in rows or columns. You can use options like fill, expand, and side to control this geometry manager.
The manager handles all widgets that are packed inside the same master widget. The packing algorithm is simple, but a bit tricky to describe in words; imagine a sheet of some elastic material, with a very small rectangular hole in the middle. For each widget, in the order they are packed, the geometry manager makes the hole large enough to hold the widget, and then place it against a given inner edge (default is the top edge). It then repeats the process for all widgets. Finally, when all widgets have been packed into the hole, the manager calculates the bounding box for all widgets, makes the master widget large enough to hold all widgets, and moves them all to the master.
When to use the Pack Manager
Compared to the grid manager, the pack manager is somewhat limited, but it’s much easier to use in a few, but quite common situations:
- Put a widget inside a frame (or any other container widget), and have it fill the entire frame
- Place a number of widgets on top of each other
- Place a number of widgets side by side
See the Patterns section for code examples.
If you need to create more complex layouts, you usually have to group the widgets using extra Frame widgets. You can also use the grid manager instead.
Note: Don’t mix grid and pack in the same master window. Tkinter will happily spend the rest of your lifetime trying to negotiate a solution that both managers are happy with. Instead of waiting, kill the application, and take another look at your code. A common mistake is to use the wrong parent for some of the widgets.
Patterns #
Filling the entire parent widget
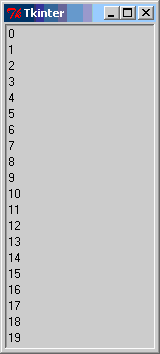
A common situation is when you want to place a widget inside a container widget, and have it fill the entire parent. Here’s a simple example: a listbox placed in the root window:
By default, the listbox is made large enough to show 10 items. But this listbox contains twice as many. But if the user attempts to show them all by resizing the window, Tkinter will add padding around the listbox:

To make the widget fill the entire parent, also if the user resizes the window, add fill and expand options:
The fill option tells the manager that the widget wants fill the entire space assigned to it. The value controls how to fill the space; BOTH means that the widget should expand both horisontally and vertically, X means that it should expand only horisontally, and Y means that it should expand only vertically.
The expand option tells the manager to assign additional space to the widget box. If the parent widget is made larger than necessary to hold all packed widgets, any exceeding space will be distributed among all widgets that have the expand option set to a non-zero value.
Placing a number of widgets on top of each other
To put a number of widgets in a column, you can use the pack method without any options:
You can use the fill=X option to make all widgets as wide as the parent widget:
Placing a number of widgets side by side
To pack widgets side by side, use the side option. If you wish to make the widgets as high as the parent, use the fill=Y option too:
Reference #
Pack geometry manager. This is an implementation class; all the methods described below are available on all widget classes.
Pack the widget as described by the options.
**options Geometry options. anchor= Where the widget is placed inside the packing box. Default is CENTER. expand= Specifies whether the widgets should be expanded to fill any extra space in the geometry master. If false (default), the widget is not expanded. fill= Specifies whether the widget should occupy all the space provided to it by the master. If NONE (default), keep the widget’s original size. If X (fill horizontally), Y (fill vertically), or BOTH, fill the given space along that direction.
To make a widget fill the entire master widget, set fill to BOTH and expand to a non-zero value. in= Pack this widget inside the given widget. You can only pack a widget inside its parent, or in any decendant of its parent. This option should usually be left out, in which case the widget is packed inside its parent.
Note that in is a reserved word in Python. To use it as a keyword option, append an underscore (in_). ipadx= Internal padding. Default is 0. ipady= Internal padding. Default is 0. padx= External padding. Default is 0. pady= External padding. Default is 0. side= Specifies which side to pack the widget against. To pack widgets vertically, use TOP (default). To pack widgets horizontally, use LEFT.
You can also pack widgets along the BOTTOM and RIGHT edges. You can mix sides in a single geometry manager, but the results may not always be what you expect. While you can create pretty complicated layouts by nesting Frame widgets, you may prefer using the grid geometry manager for non-trivial layouts.
pack_configure(**options) [#]
Removes the widget from its current manager. The widget is not destroyed, and can be displayed again by pack or any other manager.
Returns a dictionary containing the current packer options.
Returns: A dictionary mapping packer option names to option values.
pack_propagate(flag) [#]
(Manager method) Controls geometry propagation. If enabled, the manager widget will be resized if not large enough to hold all the child widgets.
Note that this method should be called on the master widget, not on an invidivual child widget.
(Manager method) Returns a list of all child (“slave”) widgets managed by the packer for this widget.
Note that this method should be called on the master widget, not on an invidivual child widget.
# Метод pack()
Для позиционирования элементов в окне применяются различные способы, и самый простой способ представляет вызов у элемента метода pack() . Этот метод принимает следующие параметры:
- expand (растянуть): если равно True , то виджет заполняет все пространство контейнера.
- fill (заполнить): определяет, будет ли виджет растягиваться, чтобы заполнить свободное пространство вокруг. Этот параметр может принимать следующие значения: NONE (по умолчанию, элемент не растягивается), X (элемент растягивается только по горизонтали), Y (элемент растягивается только по вертикали) и BOTH (элемент растягивается по вертикали и горизонтали).
- side (сторона): выравнивает виджет по одной из сторон контейнера. Может принимать значения: TOP (по умолчанию, выравнивается по верхней стороне контейнера), BOTTOM (выравнивание по нижней стороне), LEFT (выравнивание по левой стороне), RIGHT (выравнивание по правой стороне).
- anchor (якорь): может принимать значения CENTER (центр), N ( north – север), S ( south – юг), W ( west – запад), E ( east – восток) и их комбинации: NW , NE , SW , SE .
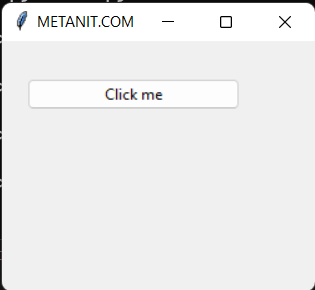
Применение метода без параметров может быть таким:
Необходимость реализации виджетов друг за другом с лева на право:
Расположение элементов по разные стороны. Для лучшего понимания попробуйте растянуть окно и понаблюдать за положением виджетов:
# Упражнения
- Создайте программу с тремя копками: 1, 2, 3. Расположите сверху вниз столбиком: 1, 2, 3 с привязкой к верхнему краю окна. Разверните окно на весь экран и проверьте корректность отображения.
- Создайте программу с тремя копками: 1, 2, 3. Расположите сверху вниз столбиком: 3, 2, 1 с привязкой к нижнему краю окна. Разверните окно на весь экран и проверьте корректность отображения.
- Создайте программу с тремя копками: 1, 2, 3. Расположите строчкой: 1, 2, 3 с привязкой к левому краю окна. Разверните окно на весь экран и проверьте корректность отображения.
- Создайте программу с тремя копками: 1, 2, 3. Расположите строчкой: 3, 2, 1 с привязкой к правому краю окна. Разверните окно на весь экран и проверьте корректность отображения.
# Растягивание виждета
Комбинируя параметры side и fill , можно растянуть элемент по вертикали:
Следующие два свойства – fill (заполнение) и expand (расширение). По-умолчанию expand равен нулю (другое значение – единица), а fill – NONE (другие значения BOTH , X , Y ). Создадим окно с одной меткой:
Если начать расширять окно или сразу раскрыть его на весь экран, то метка окажется вверху по вертикали и в середине по горизонтали. Причина, по которой метка не в середине по вертикали заключается в том, что side по-умолчанию равен TOP .
Если установить свойство expand в 1, то при расширении окна метка будет всегда в середине:
Свойство fill заставляет виджет заполнять все доступное пространство. Заполнить его можно во всех направлениях или только по одной из осей:
Последняя опция метода pack() – anchor (якорь) – может принимать значения N ( north – север), S ( south – юг), W ( west – запад), E ( east – восток) и их комбинации:
# Упражнения
Создайте программу с двумя кнопками растягиваемые по горизонтали, прикрепленными к верхней и нижней границам окна.
Создайте программу с двумя кнопками растягиваемые по вертикали, прикрепленными к левой и правой границам окна.
Напишите программу с кнопкой растягивающейся на всё окно, независимо от размера окна.
Создайте четыре программы с кнопкой, которая будет привязана к углу окна. И при увеличении размеров окна виджет продолжит оставаться в том же углу:
- в левом верхнем углу окна;
- в правом верхнем углу окна;
- в левом нижнем углу окна;
- в правом нижнем углу окна;
Создайте одну программу с четырьмя кнопками по углам окна. И при увеличении размеров окна виджет продолжит оставаться в тех же углах:
- в левом верхнем углу окна;
- в правом верхнем углу окна;
- в левом нижнем углу окна;
- в правом нижнем углу окна;
Создайте программу с центральным расположением метки с текстом "Центр". При увеличении размеров окна виджет продолжит оставаться по центру: по горизонтали и вертикали.
Для дальнейшего переиспользования кода, создайте новый файл с названием app_rainbow.py . Напишите программу с заголовком "Colors" и меткой с текстом «Color name», размер шрифта для всех виджетов можно указать font=20 :
- Добавьте в программу одно-строчное текстовое поле с текстом «Color code». Выровняйте текст по центру текстового поля, используя свойство justify=CENTER :
- Добавьте в программу 7 кнопок, цвета которых соответствуют цветам радуги. Коды цветов в шестнадцатеричной кодировке:
- #ff0000 – красный (red),
- #ff7d00 – оранжевый (orange),
- #ffff00 – желтый (yellow),
- #00ff00 – зеленый (green),
- #007dff – голубой (lightblue),
- #0000ff – синий (blue),
- #7d00ff – фиолетовый (purple).
Добавьте событие вызова функции при нажатия красной кнопки. Функция выводит в консоль текст: название red и код цвета #ff0000 .
Измените функцию так, чтобы при нажатии на кнопку, менялся текст и цвет текста ранее созданной метки на соответствующее название цвета нажатой кнопки.
доработайте функцию так, чтобы при нажатии на кнопку, менялся текст и фон, ранее созданного, текстового поля на соответствующий код цвета нажатой кнопки:
Tkinter Canvas
Summary: in this tutorial, you’ll learn about the Tkinter Canvas widget and how to draw various objects on it.
Introduction to the Tkinter canvas widget
The canvas widget is the most flexible widget in Tkinter. The Canvas widget allows you to build anything from custom widgets to complete user interfaces.
The canvas widget is a blank area on which you can draw figures, create text, and place images.
To create a canvas widget, you create a new instance of the Canvas class from the tkinter module. For example, the following creates a canvas on a window:
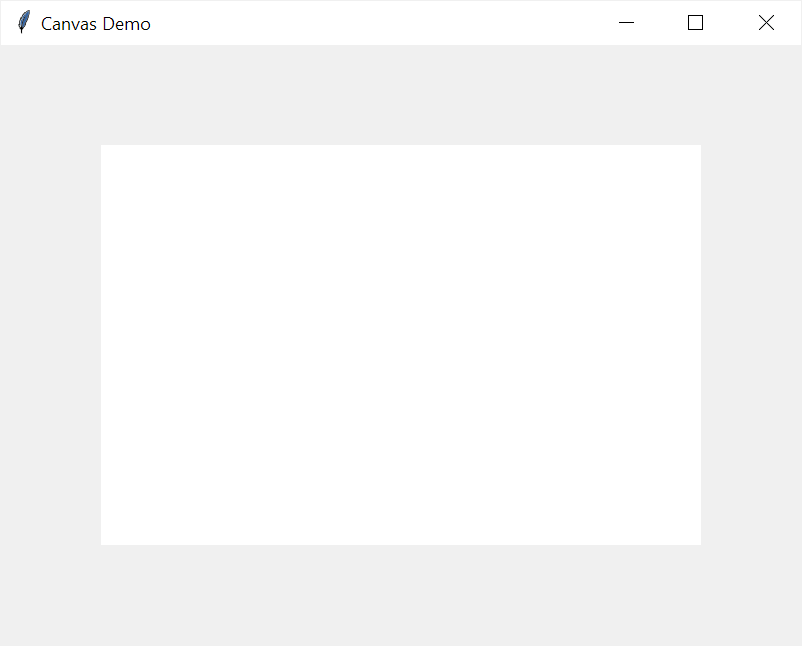
First, create a new Canvas object with the width 600px , height 400px and background white :
Second, place the canvas object on the root window using the pack() geometry.
A canvas has a coordinate system like a window. The origin (0,0) is at the top-left corner. The direction of the x-axis is from left to right and the direction of the y-axis is from top to bottom.
Adding items to a canvas using create_* methods
A canvas object has a number of add_* methods. These methods allow you to place items on it. The items are:
Item Method Line create_line() Rectangle create_rectangle() Oval create_oval() Arc create_arc() Polygon create_polygon() Text create_text(() Image create_image() Creating a line
To create a line, you use the create_line() method. For example, the following creates a red line:
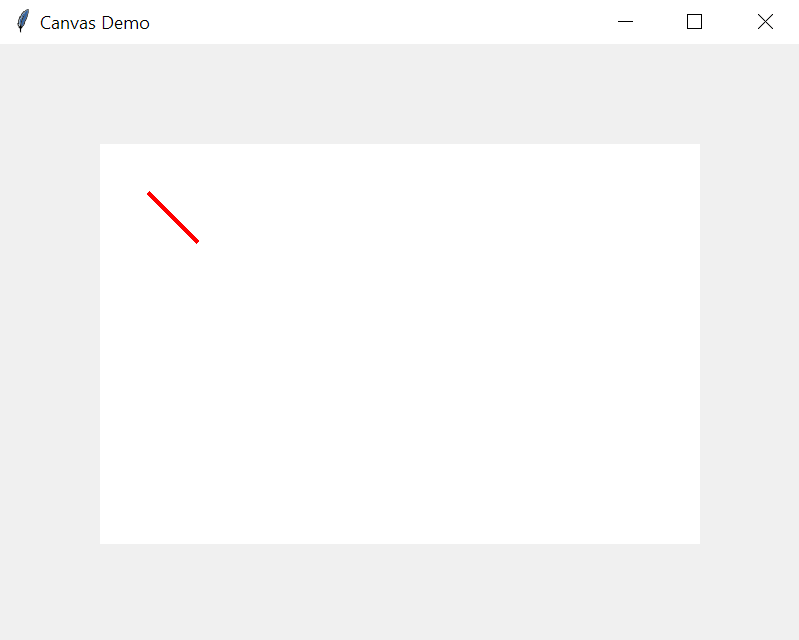
In this example, a line consists of two points (50,50) and (100,100) . The create_line() method connects the dots between these points.
The width argument specifies the width of the line. And the fill argument specifies the color of the line.
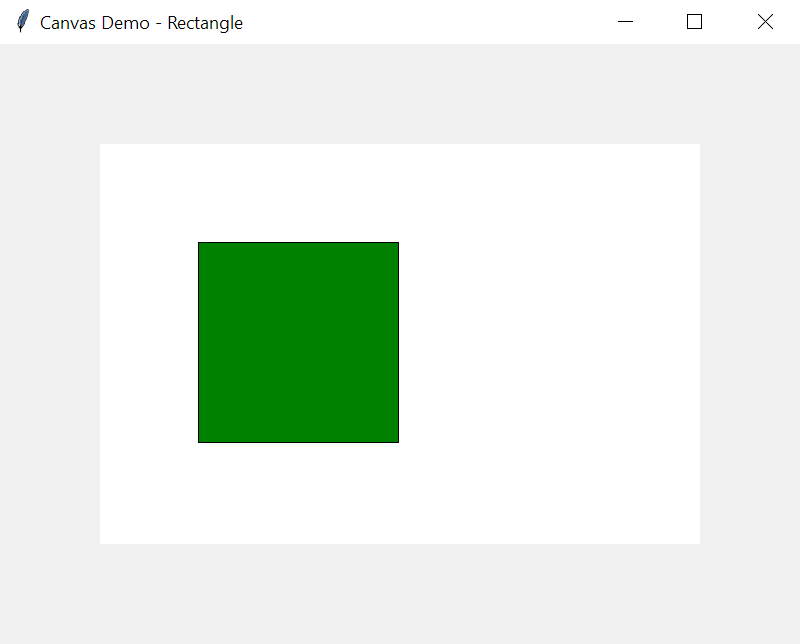
Creating a rectangle
To draw a rectangle, you use the create_rectangle() method. For example:
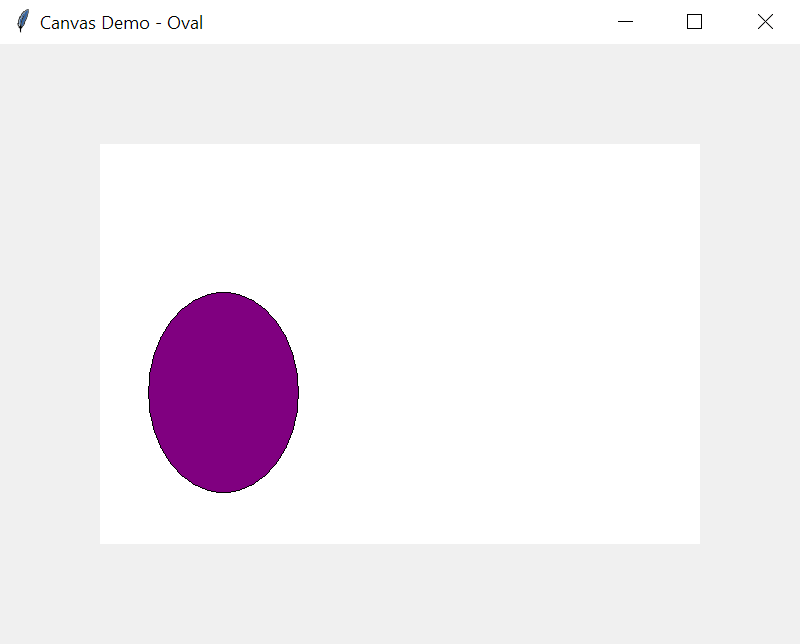
Creating an oval
To draw an oval, you use the create_oval() method. For example:
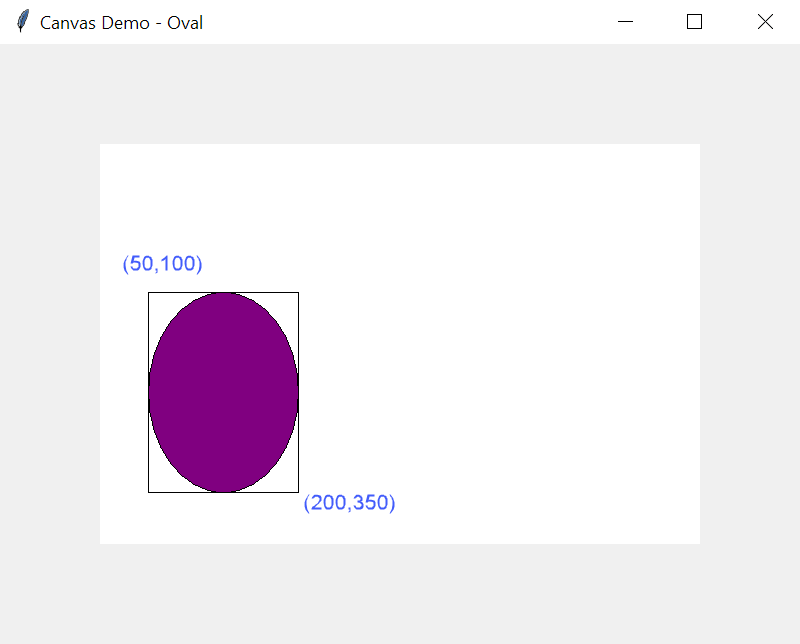
Like a rectangle, an oval takes the coordinate of the upper-left and lower-right corners of its bounding box. A bounding box of an oval is the smallest rectangle that contains the oval.
In this example, the upper-left and lower-right corners of the bounding box are (50,150) and (200,350) .
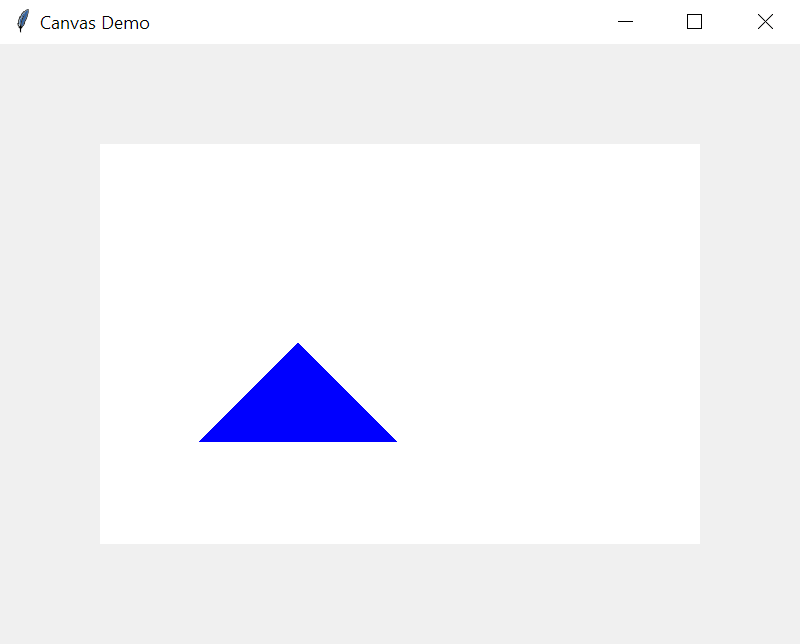
Creating a polygon
To draw a polygon, you use the create_polygon() method. For example:
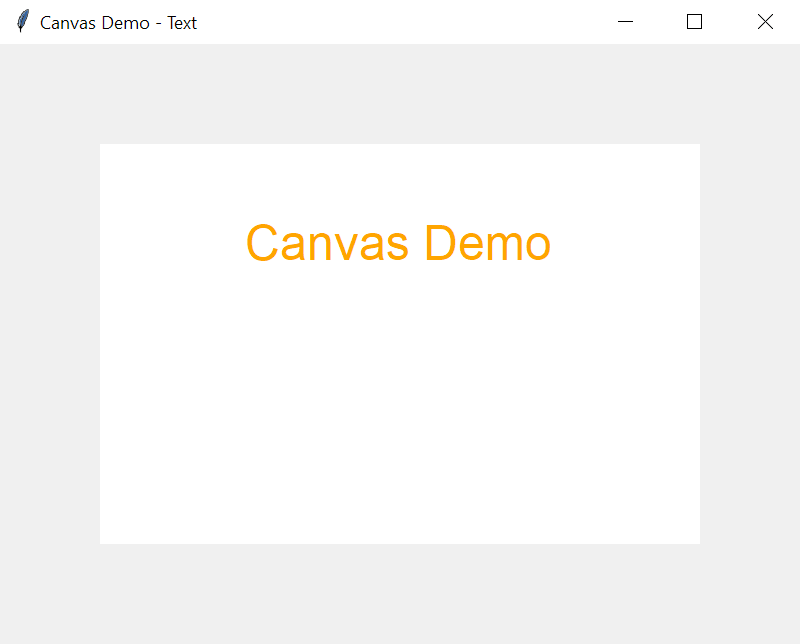
Creating a text
To place a text on a canvas, you use the create_text() method. For example:
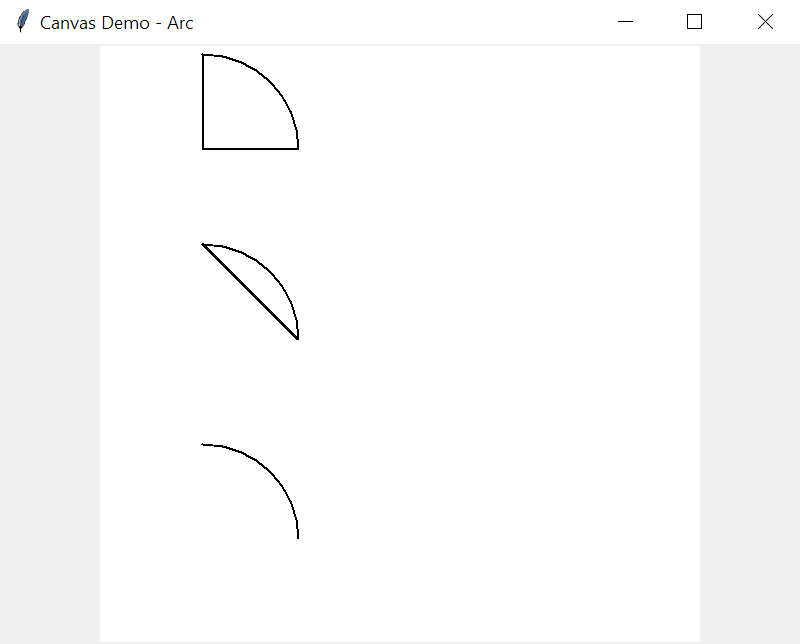
Create an arc
To draw an arc on a canvas, you use the create_arc() method. For example:
Create an image
To place an image on a canvas, you use the create_image() method. For example:
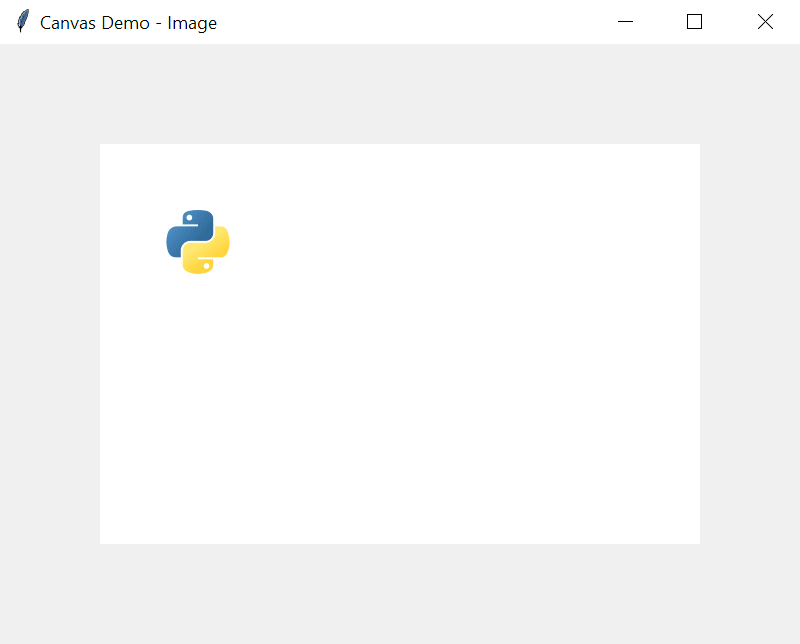
Note that if you pass directly the PhotoImage to the create_image() method, the image won’t display because it is automatically garbage collected.
The following code won’t work:
Binding an event to the item
All the create_* method returns a string value that identifies the item in the context of the Canvas object. And you can use this value to bind an event to the item.
To bind an event to an item, you use the tag_bind() method of the Canvas object. For example:
In this example, we bind the left-mouse click to the image item. If you click the image, the lambda will execute that removes the image from the canvas.