How To Use OBS Virtual Camera on Discord?
 By Steve Kuhn November 17, 2022 November 17, 2022
Discord is the go-to option for many people to connect via gaming activities and video calling. It is particularly popular among gamers who use it for various purposes, including voice chatting while gaming and chatting with friends.
If you stream often, then you understand the importance of having an appealing layout for your videos. Thankfully, the OBS Virtual camera connects with streaming software and applications like Discord to acknowledge OBS studio as your video source.
If you want to improve your streaming, you may wonder how to use the OBS virtual camera on Discord.
To use the OBS virtual camera on Discord, you must first install the OBS studio on your PC. Next, add your webcam and tap “Start Virtual Camera.” When set up, navigate to Discord’s “Voice & Video” settings and select “OBS Virtual Camera” under the “Camera” section.
To fully make the best of the OBS Virtual camera while streaming on Discord, some other details and tweaks might help you have a clean setup.
Read on to learn more about OBS virtual camera and how you can use it conveniently on Discord.
What Is an OBS Virtual Camera?
OBS (Open Broadcast Software) Virtual camera is an essential feature of the OBS studio – a video recording and editing software. It permits you to connect your OBS studio scenes with streaming and video platforms that use a webcam.
In other words, the virtual camera acts as your video source. It acts as a webcam in other software like Google Hangout, Discord, Skype, etc.
That way, you can stream your activities on computer calls and conferences to different platforms simultaneously.
OBS Virtual camera is a convenient option among streamers because of its excellent features. For example, you can customize your screen layouts to make them look more presentable.
Also, you can share your screen and camera while doing other tasks. You may add effects, text, overlays, and play sounds without one activity affecting the other. All of these combine to give you a fascinating stream.
Discord and OBS Virtual Camera
As a platform for most streamers, Discord is the perfect software for OBS Virtual camera.
The software makes it easy to capture and record your screen activities, such as online calls, webinars, conferences, football discussions among friends, etc. Also, you may use it to record video guides, online courses, and tutorials.
Suppose you launch a video channel with an OBS Virtual camera; you can show your friends a live feed of your screen, videos, and images. This replaces your webcam. You may also add filters and effects to the layout of your screen.
With such great features for your live streams on Discord, it’s too good to pass OBS virtual camera over. So, how do you use an OBS Virtual camera on Discord?
How To Use OBS Virtual Camera on Discord?
Before using an OBS Virtual camera on Discord, you must set it up on your computer. The camera used to be a plugin, but it no longer requires that.
OBS has integrated the plugin within the OBS studio. You can find an OBS Virtual camera in the latest OBS software of OBS.
Step#1: Download and Install OBS Studio
Head to obsproject.com to download the latest OBS Studio application. Ensure you download and install the appropriate one, as it has different versions for Windows, Mac, and Linux.
When downloaded, launch the installer and follow the on-screen instructions.
Step#2: Launch OBS Studio
Once you’ve downloaded and installed it, launch the software by opening it. You will be required to indicate what you want to use the software for.
Select the “I will only be using the virtual camera” option and click “Next,” and then click “Apply Settings.”
Step#3: Set Up Your Webcam
Next, the software will require you to set your desired webcam as a source device. To do this:
- Find the “Sources” box at the bottom of your screen.
- Click the plus sign (“+“) within the box.
- Select “Video Capture Device” from the options, then click “OK.”
- Select your “OBS Virtual Camera” and tap “OK.”
Step#4: Start Virtual Camera
After setting up the video capture device, you will see your webcam feed on the screen. Select “Start Virtual Camera” at the lower right of the screen to activate the OBS Virtual Camera.
This option will also allow you to use it on any platform that supports webcam use.
Step#5: Choose OBS Virtual Camera on Discord
Follow these steps to choose OBS Virtual Camera on Discord:
- Open Discord on your PC.
- Click the settings icon at the bottom left.
- Select “Voice & Video” from the left navigation.
- Scroll down to “Video Settings” and click “Test Video.”
- Select the “OBS Virtual Camera” option in the “Camera” section.
The camera will be set by default to your in-built webcam. However, you have to switch it to OBS Virtual Camera by clicking “CAMERA” under your video preview. Then select “OBS Virtual Camera.”
How To Integrate OBS Virtual Camera to Discord on Mac?
OBS has connected the Virtual Camera to the Mac OBS Studio app. So you don’t need to download a separate plugin.
If you use Mac, you may wonder if the process of adding an OBS Virtual Camera to Discord on Mac is different from Windows.
The answer is they are the same. Follow the instructions below to add the virtual camera to your Mac computer:
- Download the OBS Studio program.
- Set up your webcam.
- Click “Start Virtual Camera.”
- Navigate to the Discord settings.
- Select “Voice & Video” from the options.
- Under “Video settings,” tap “Test Video.”
- Click “Camera” and choose “OBS Virtual Camera” as the source camera for Discord.
Conclusion
Discord allows you to stream live your screen activities. But it’s never harmless to seek improvement.
Thankfully, OBS Virtual camera helps you get more out of your streaming with unique features such as screen filters, effects, and superb layouts.
These make you enjoy your video calls, conferences, and webinars more. This guide will help you use the OBS Virtual Camera on Discord.
Virtual Camera Guide
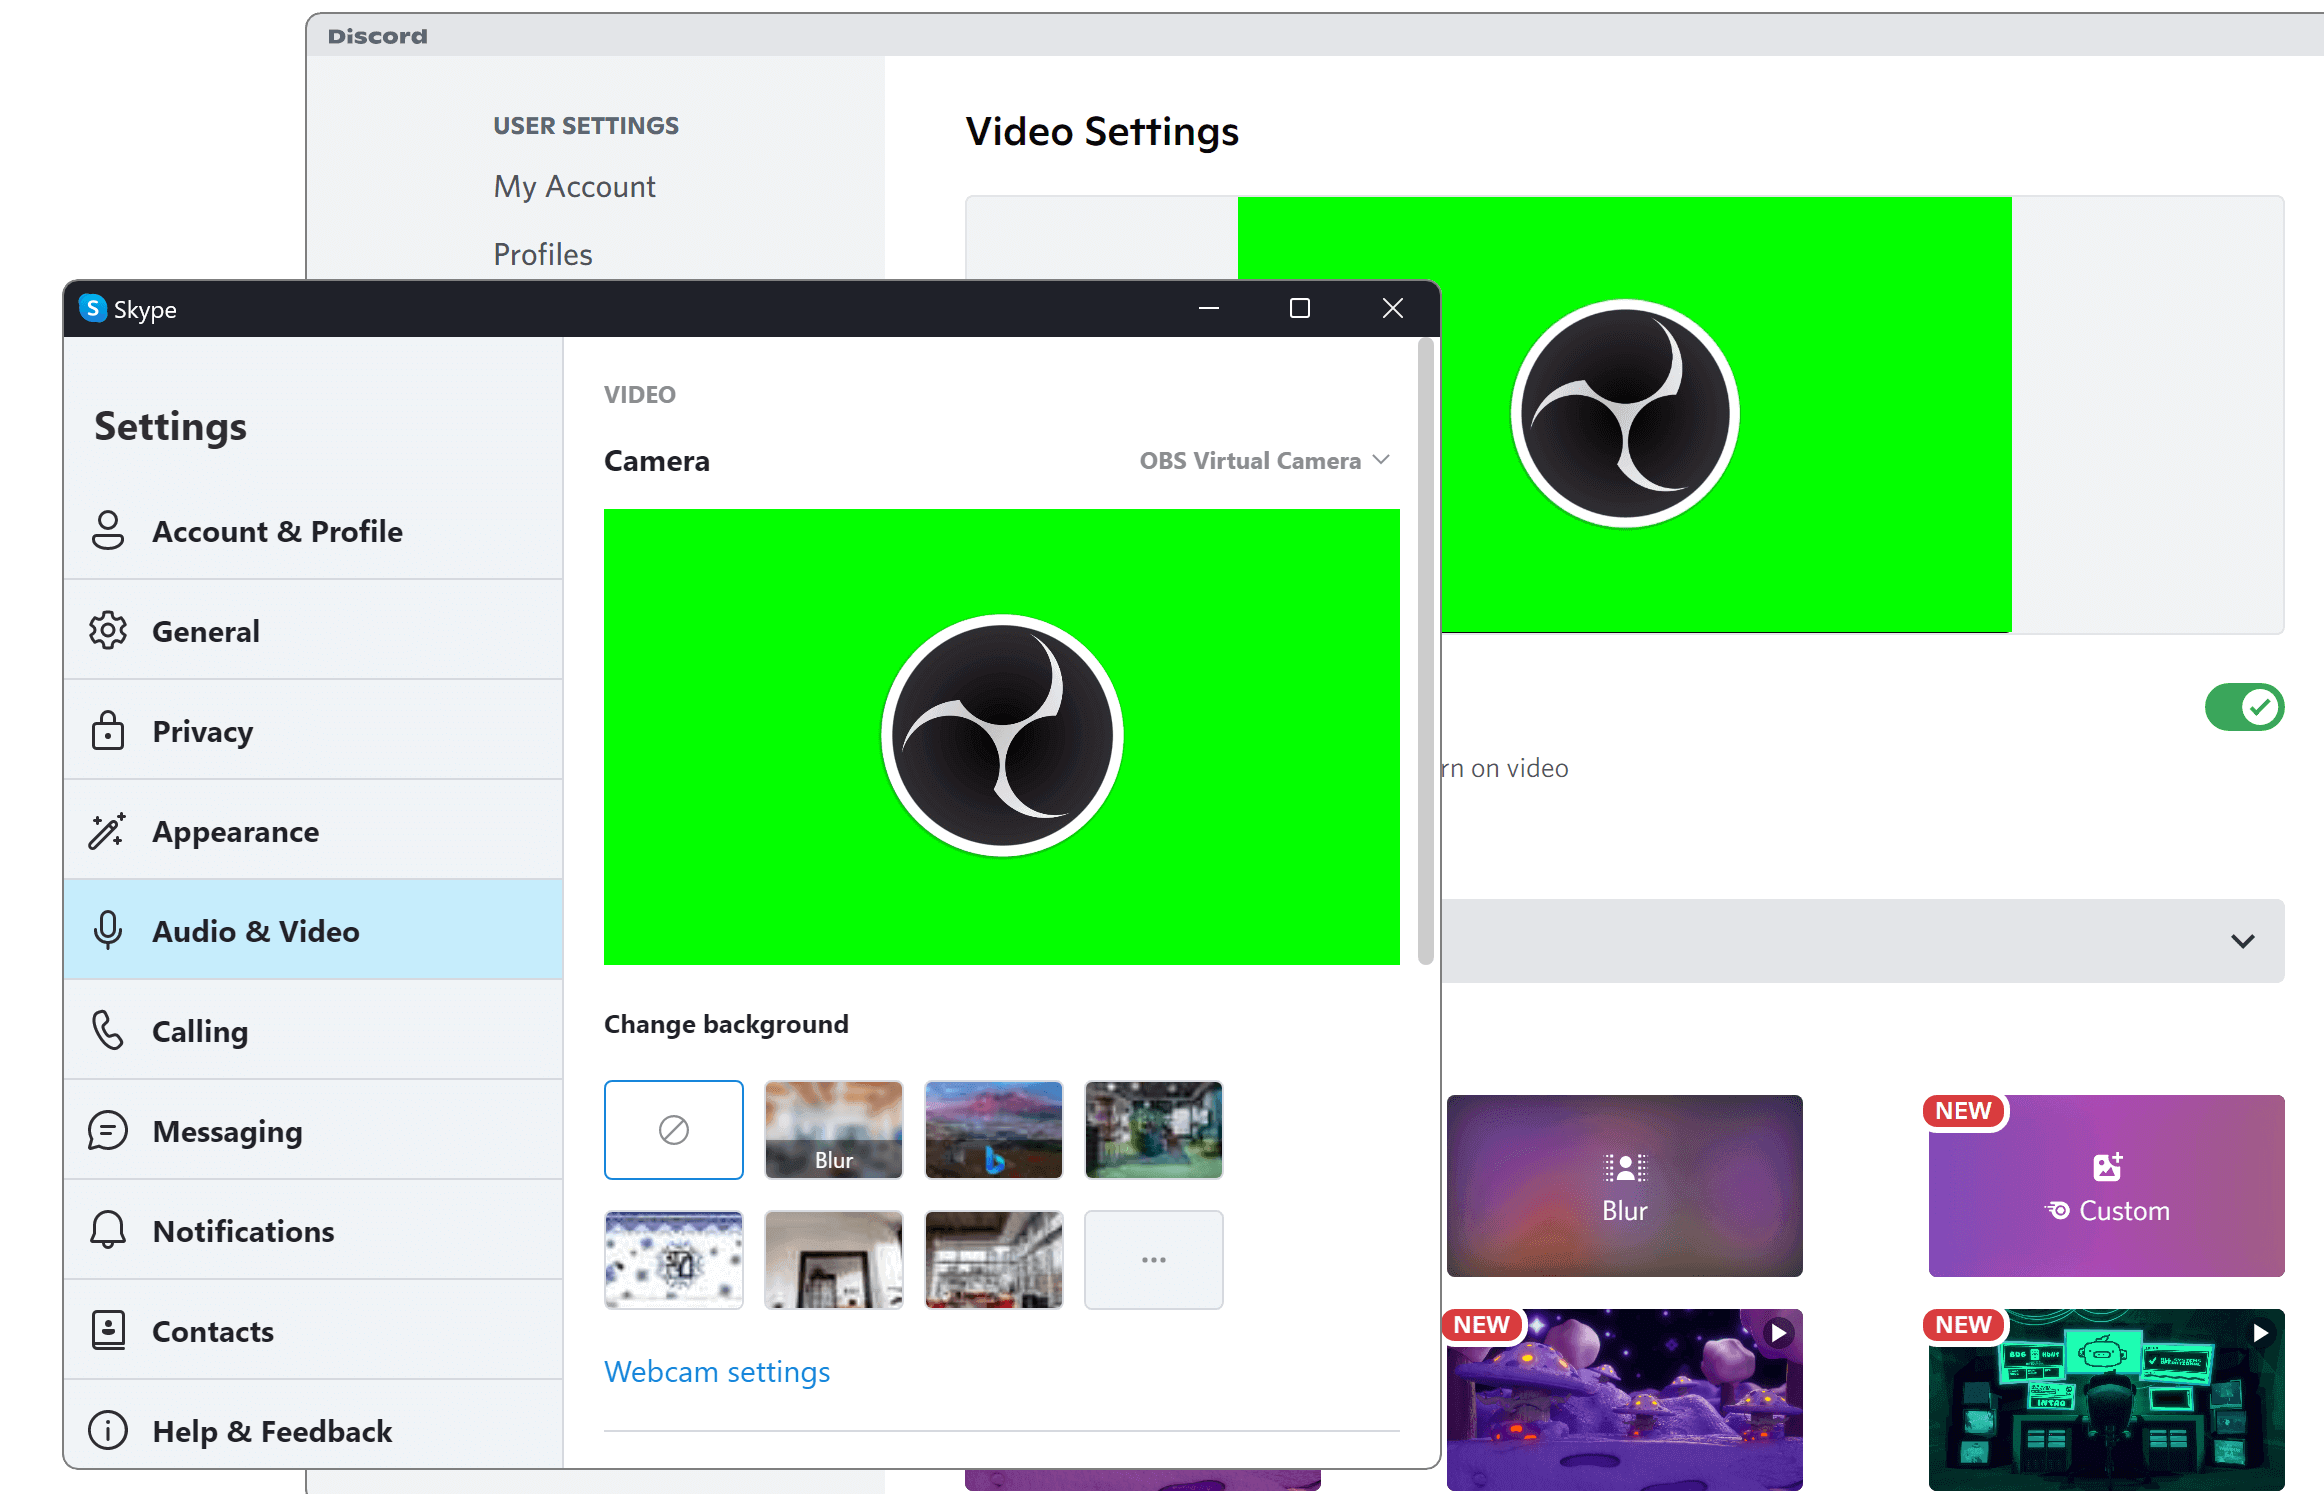
The Virtual Camera is a feature of OBS Studio that allows you to share your OBS Studio scene with any applications that can make use of a webcam, such as Zoom, Skype, Discord, etc. This feature is particularly useful for applications that cannot capture the screen directly.
Using the virtual camera
To start the virtual camera, click Start Virtual Camera in the Controls dock. To stop the virtual camera, click the same button again (which will be labelled Stop Virtual Camera).
To adjust settings for the virtual camera, click on the ⚙ Gear icon in the Controls dock.
From the Virtual Camera settings window, you can adjust the following settings:
- Internal
- Program Output: the virtual camera will show what OBS Studio normally outputs
- Preview Output: if using Studio Mode, the virtual camera will show the Preview. This means anybody watching the video feed will see you changing scenes, making edits, etc.
Show a single source in the virtual camera
In a future update, you will be able to select a single source for the virtual camera to show. Until then, you can show a single source by creating an extra scene containing the source.
- Add a new scene. In this tutorial, it will be called Virtual Camera.
- Add an existing source:
- click on the + Add Source button
- select the type of the source you want to show
- click on Add Existing
- select the source
(Alternatively, you can copy the source and paste a reference to it)
- Your Virtual Camera should contain a single source. You can resize the source to fit the source to the size of the scene.
The quickest method to fit a source to the scene is to right-click on the source and choose:
How to Add OBS Virtual Camera to Discord on Windows & Mac
Discord provides only a few effects and virtual background which you can add to your webcam screen on a video chat. To enrich your video call, you may like to add more filters and effects or share your favorite music, videos, and games along with your webcam video, virtual Camera Software like OBS Studio would be one perfect way to do this job.
OBS Virtual Camera provided by OBS Studio is one of the top virtual camera software which is able to put multiple sources into one so that you can enrich your video call on Discord, which is cool and amazing.
In this article, we explain how to add OBS Virtual Camera to Discord on Windows and Mac step by step, as well as tricks to quickly fix OBS Virtual Camera not working on Discord.
How to Add OBS Virtual Camera to Discord on Windows PC
To successfully add OBS Virtual Camera to Discord, you can follow this detailed guide:
Step 1. Download OBS Studio to Your Windows Computer
Previously, to use OBS Virtual Camera on any platform, you had to download and install an OBS Virtual Camera Plugin in addition to the OBS Studio software program. Thankfully, you do not have to go through such a lengthy process anymore. OBS has integrated the virtual camera plugin into the OBS Studio App. As such, you only have to download the latest OBS Studio Application to use the virtual camera. If you do not already have the app, you can download it here. Ensure you download the version of the app compatible with Windows.
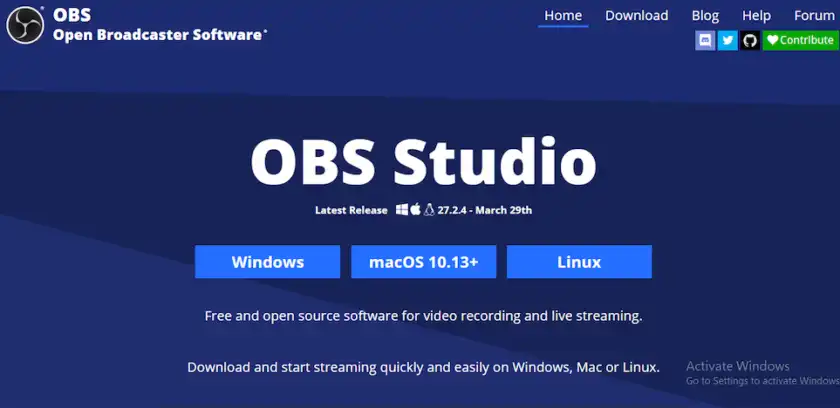
Add OBS Virtual Camera to Discord – Download OBS Studio
Step 2. Install and launch OBS, and add your webcam, video, or other media content you want to share with your Discord friends.
Once downloaded, install and launch the program. With the app opened for the first time, you would have to set up your desired webcam as a source device. To do this, go to the Sources box, which you will find at the bottom of your screen. Click the plus sign + within the box. You should see a list of options to add as sources. Select Video Capture Device and choose your desired webcam, whether in-built or external.
Add OBS Virtual Camera to Discord – Add Video Source or Media
Step 3. Click Start Virtual Camera.
After setting up your video capture device, you will be able to see your webcam feed on the screen. You can then click on “Start Virtual Camera,” which you will find at the bottom right of the screen. This option would activate the OBS Virtual Camera, and you would be able to select it as an option on any platform that supports webcam use.
Start OBS Virtual Camera on Windows
Step 4. Go to Discord Settings > Voice & Video > Select OBS Virtual Camera under the CAMERA section.
Click on Voice & Video under App Settings. Scroll down to video settings and click ‘Test Video.’ The camera might be set by default to your in-built webcam. Hence, you will have to change it to OBS Virtual Camera. You can do this by clicking on ‘Camera’ right under your video preview. Then select ‘OBS Virtual Camera.’ Now, you should be able to see your OBS Virtual Camera feed right in the video preview. Thus, whatever settings you have made to your webcam in OBS Studio would apply to the Discord Platform.
Add OBS Virtual Camera to Discord
How to Add OBS Virtual Camera to Discord on Mac Computer
The process of adding OBS Virtual Camera to Discord on MacOS is pretty identical to the process on Windows. OBS has also integrated the Virtual Camera into the Mac OBS Studio app. As such, you do not have to download a separate plugin, as was usually the case.
Step 1. All you have to do is download the OBS Studio program.
Step 2. Start Virtual Camera, and select OBS Virtual Camera as the source camera on Discord.
Step 3. Once you’ve done that, you should be able to mirror what you have in OBS Studio on Discord.
What If Discord Can’t Detect OBS Camera on Mac?
You might discover that on your Mac, you can’t find the ‘OBS Virtual Camera’ as a source camera option on Discord. To get your Mac virtual camera to work on Discord, here’s what you need to do.
Step 1. Launchpad > Open the Terminal app on your Mac. And paste into the terminal:
Xcode-select –installStep 2. Put in your password. NOTE: you will not see the password is put in, but it will be registering it.
Step 3. After that, paste the following command and then input your password again.
sudo codesign –remove-signature “/Applications/Discord.app/Contents/Frameworks/Discord Helper (Renderer).app”Step 4. Now, re-sign the application.
sudo codesign –sign – “/Applications/Discord.app/Contents/Frameworks/Discord Helper (Renderer).app”
Note:If step 3 can’t allow the virtual camera to work after you restart your Mac, try using the following command as you did with step 3 it see whether it works.
sudo codesign –remove-signature “/Applications/Discord.app/Contents/Frameworks/Discord Helper.app”
And if it still does not work, you can try
sudo codesign –remove-signature “/Applications/Discord.app/Contents/Frameworks/Discord Helper (GPU).app”
And if it still does not work you can try
sudo codesign –remove-signature “/Applications/Discord.app/Contents/Frameworks/Discord Helper (plugin).app”How to Fix OBS Virtual Camera Not Working
This could be a result of a number of factors. To fix this OBS Virtual Camera problem, kindly follow this checklist.
Tip 1. Have You Clicked ‘Start Virtual Camera’?
The first thing to do is check if you started ‘Virtual Camera’ in OBS Studio. If the virtual camera is not activated in the app, ‘OBS Virtual Camera’ would not appear as an option on any platform, including Discord. Once you’ve started the virtual camera, restart Discord and check if OBS Virtual Camera is detected.
Tip 2. Try to Update Discord & OBS Studio
If this does not work, you might have to update both OBS Studio and Discord to their latest versions in case it is a compatibility issue. You can check for updates on OBS Studio by clicking ‘Help’ and selecting ‘Check for Updates.’ You can then update the program to the latest version. You can also download the latest Discord version from the manufacturer’s website.
OBS Virtual Camera Not Working – Check for Update
Tip 3. Make Sure You’ve Added Video Capture Video
Even after adding OBS Virtual Camera on Discord, you might find that the camera is not working. There are some options you can explore to fix this problem. First, check that you correctly set up your video capture device in OBS Studio. If OBS Studio is not actually connected to your webcam, there would be no video to transmit via the virtual camera, making it appear as though OBS Virtual Camera.
Tip 4. Other Apps May Use Your Virtual Camera
Another reason the virtual camera might not work on Discord is that another application is using your webcam. Since only one application can use your webcam at a time, your OBS Virtual Camera would not work. To fix this, ensure you turn off your video in other apps that support webcam use. This includes your native camera app, Zoom, Google Meet, and Skype. You can also try restarting both OBS Studio and Discord.
Conclusion
With the above guide, you can integrate OBS Virtual Camera with Discord and unlock more possibilities with your webcam. You can also try several layouts in OBS Studio. For instance, the program allows you to share slides while broadcasting your video simultaneously. Besides, don’t miss out on some other useful Discord-related tips, such as how to turn your Phone into a webcam for Discord.
How to use obs virtual camera on discord
If you looking to get solution of How to use obs virtual camera on discord then must check given helpful tips & tricks and guides. We have listed all the related questions to provide you as much best possible solution.
Can you use OBS with Discord?
How do I use the virtual webcam on Discord?
All you have to do is click start virtual camera and immediately. Any program that recognizes webcams. Will see this as a digital webcam input. So moving it across to the side.