<img> HTML – Image Tag Tutorial

Kolade Chris

In HTML, you use the <img> tag to add images to websites. It is an inline and empty element, which means that it doesn’t start on a new line and doesn’t take a closing tag (unlike the paragraph ( <p> ) tag, for instance).
The <img> tag takes several attributes, of which src , height , width , and alt are the most important.
Knowing the ins and outs along with some best practices of the <img> tag is crucial because images can negatively affect your site’s load time and SEO.
So in this tutorial, we will take a look at how to add images to websites using the <img> tag, how to use its attributes, some best practices, and modern approaches to using <img> .
Basic HTML <img> Tag Syntax
Here’s the basic syntax for adding an <img> tag to your HTML:
Now let’s talk about its attributes and how they work.
HTML <img> Tag Attributes
The src Attribute
The src attribute signifies the image source. Without it, the tag itself wouldn’t be functional in the real world.
It indicates to the browser where to find the image. So it takes a relative path if the image is hosted locally, or an absolute URL if the image is hosted online.
The alt Attribute
The alt attribute specifies an alternative text for the image. This could be the text that shows during a network failure, for example. Or it could display something when the image source is wrongly specified, so users know what the image is about.
In the code snippet below, the image source is wrongly specified, showing you the role that the alt attribute plays:
This is the CSS that centers the image horizontally and vertically:
And it looks like this:
The alt attribute is very important for 2 other reasons:
- SEO: it indicates to web crawlers what the image is about
- Accessibility: it helps screen readers know what the image is about so they can report that to visually impaired people. In addition, it lets users with low bandwidth know what the image is about.
The width and height Attributes
You can use these attributes to specify a certain width and height for your images. With these attributes, you can resize the image down or up.
Ideally, though, you shouldn’t resize an image with these attributes. We’ll touch on this more under best practices.
HTML <img> Tag Best Practices
Do not resize an image with the width and height attributes.
This is a bad practice because it can make the image appear distorted and can affect the quality.
Instead, you can optimize the image to your desired dimensions with photo editing software such as Photoshop.
In the code snippet below, I specify a width and height for the image – a bad practice:
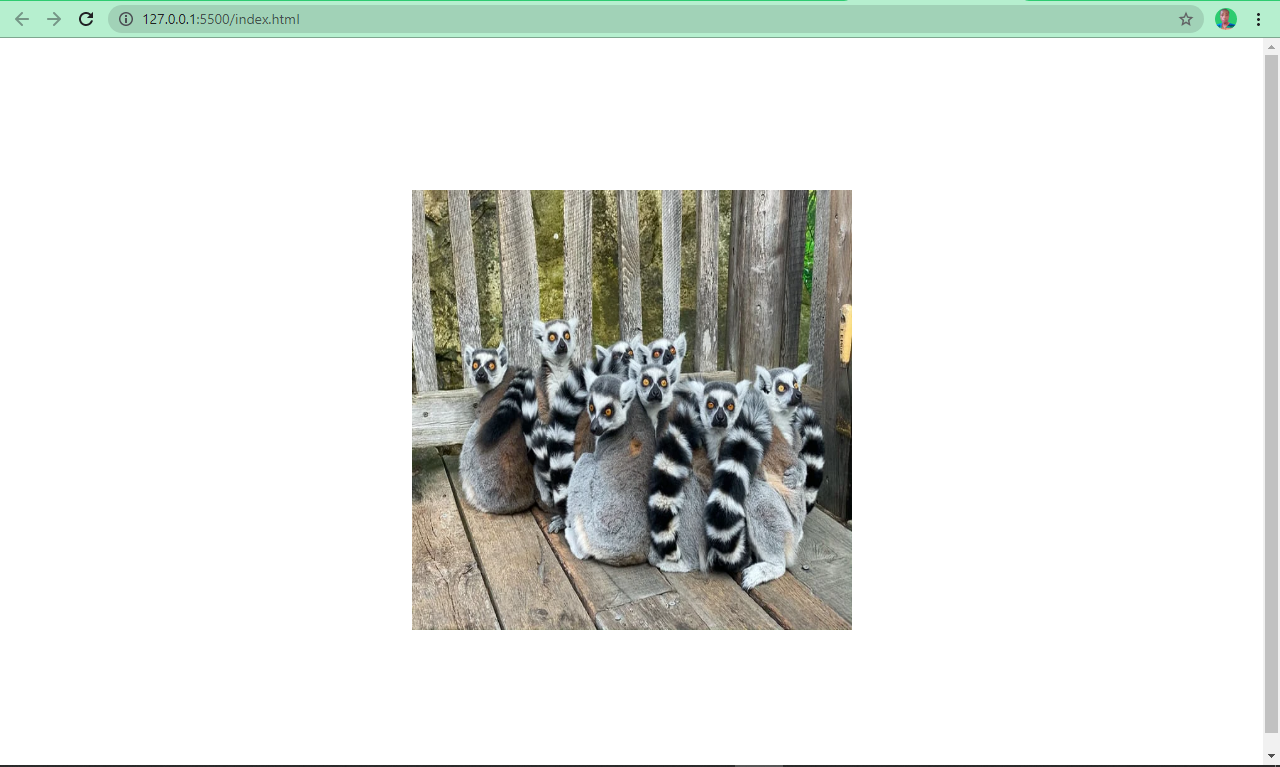
The image looks like this:
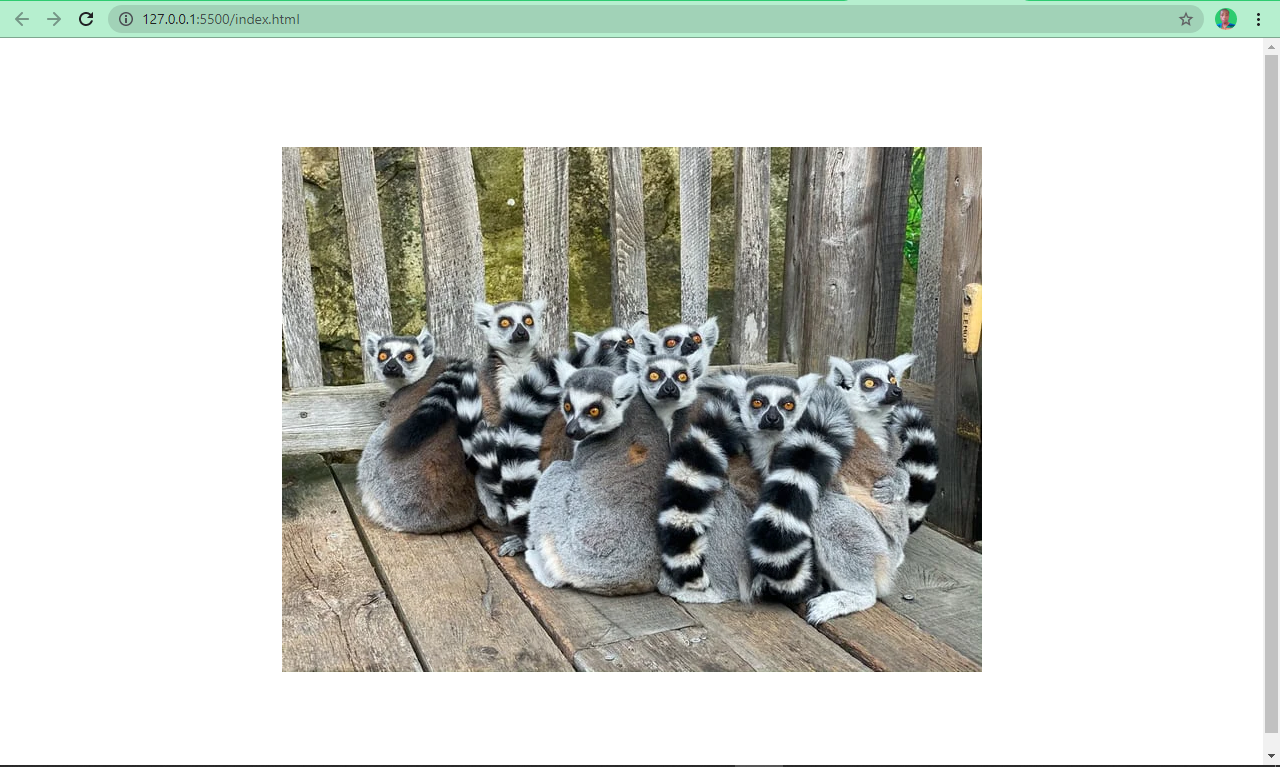
Without using the width and height attributes, the image looks like this:
Looks better? Yes!
Name Your Images Appropriately
Naming images appropriately can help search engines understand what the image is about. For example, name an image ring-tailed-lemurs.webp instead of photo-1580855733764-084b90737008.webp . The latter is not enough for search engine optimization (SEO).
Reduce Image File Size
The image’s file size is crucial when it comes to page speed. A smaller image size (that preserves the image’s quality) reduces load time while larger images take forever to load.
There are several tools and various software that can help you do this. Some examples are imageOptim, jStrip, and PNGGauntet. And if you’re concerned about SEO, you’ll want to look into these – as page speed is an important ranking factor.
Host Images with a CDN
Imagine if a website is hosted in the United States but a user in Africa wants to accessed it. Assets such as images and icons would have to travel from The States to Africa, which in turn slows download time.
Using a CDN (Content Delivery Network) will allow the website’s images to be cached across several locations around the world. The CDN can then serve them from locations closest to the user, improving load time and providing a better user experience.
Cloudflare is a popular CDN that a lot of developers use to host their images.
Use Descriptive Alternative Text
Using descriptive alternative text helps search engines understand what the image is about. But it doesn’t end there – the alt text must also be relevant to the image.
For example, use this:
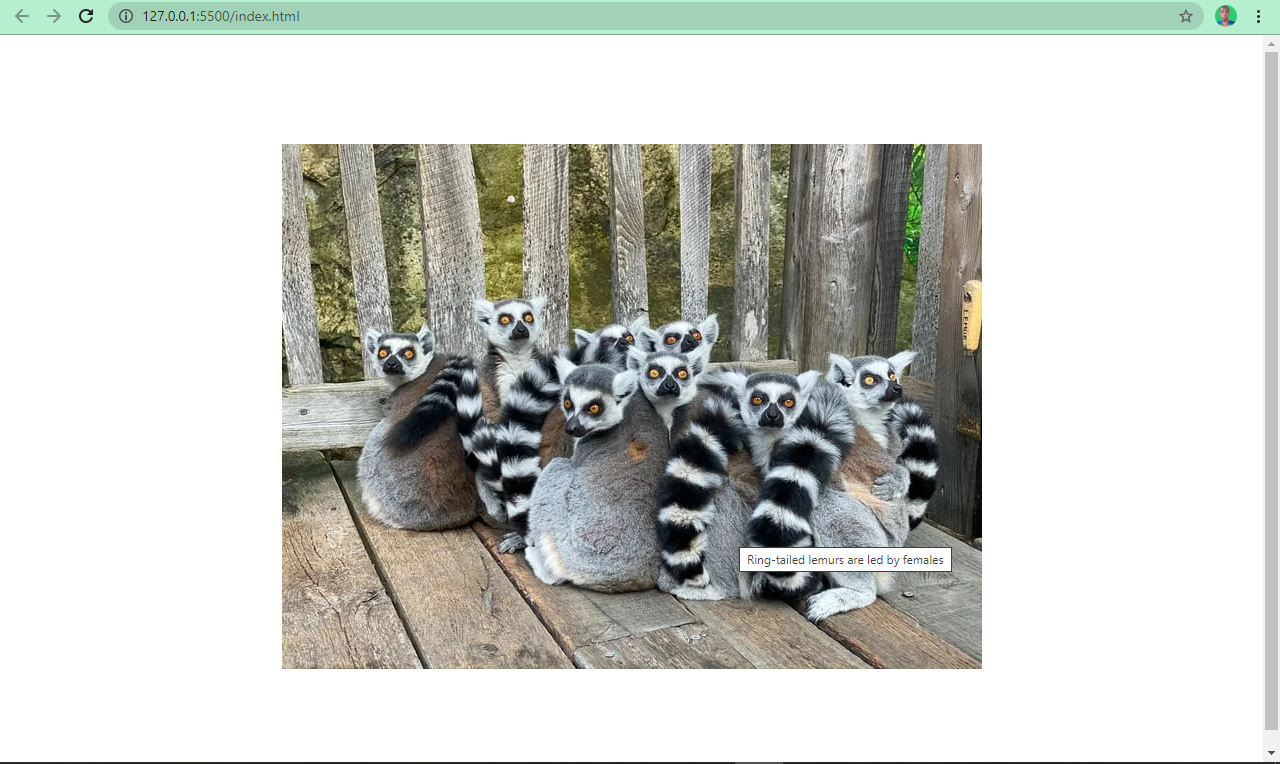
Use the title Attribute to Show Tooltips
Just like the alt attribute, you can use the title attribute to show additional information about the image. Browsers display this as a tooltip when the user hovers over the image.
<img> Tag Modern Approaches
There are various ways you can use the <img> tag that are a bit more up to date and modern. Let’s look at some of them now.
Lazy Load Images
Lazy loading is a newish «load what is needed» concept. With lazy loading, the image is loaded only when the user scrolls to its viewport.
This is in contrast to eager loading, which loads every image immediately after the page is rendered by the browser.
To apply lazy loading, add the loading attribute to the <img> tag and set the value to “lazy”.
Images are often quite high quality and large these days, but this can negatively impact user experience and SEO – hence the introduction of lazy loading.
Use the <figure> and <figcaption> Tags
Often, you might need to specify to the user the caption of an image. A lot of developers do this by placing a <p> tag right after the <img> .
This might not be wrong, but it defies best practices and does not associate the caption with the image, so search engines won’t understand what it is.
Its is clear that there is no association between the image and the caption in the above example.
HTML5 introduced the <figure> and <figcaption> elements to help with this. You wrap the <img> tag inside a <figure> element, and you specify a caption within the <figcaption> element.
This helps search engines associate the caption with the image, leading to better performance and SEO.
The snippets of code below and the screenshots show you an image with and without the <figure> and <figcaption> elements:

You can see now that the image and the caption are beautifully associated.
Use the .webP Image Format
.webP is an image format created by Google. According to the creator, it’s an image format lower in size than its counterparts — JPG, JPEG, PNG, but with the same quality.
This format has been getting more and more widely accepted and is considered the nextgen image format for the web.
Conclusion
I hope this article helps you understand how the <img> tag works in HTML so you can use it properly in your projects. If you do so, it’ll help improve your user experience and SEO.
Добавление изображения на веб-страницу с помощью HTML
Эта серия мануалов поможет вам создать и настроить веб-сайт с помощью HTML, стандартного языка разметки, используемого для отображения документов в браузере. Для работы с этими мануалами не требуется предварительный опыт программирования.
В результате выполнения этой серии у вас будет веб-сайт, готовый к развертыванию в облаке, также вы получите базовые знания HTML. Умение писать HTML – хорошая основа для изучения более сложных аспектов веб-разработки, таких как CSS и JavaScript.
Примечание: Найти все мануалы этой серии можно по тегу html-practice.
В этом мануале вы узнаете, как добавлять изображения на веб-сайт с помощью HTML. Мы также покажем, как добавлять alt-текст к изображениям, чтобы сделать их доступными для посетителей, использующих скринридеры.
Изображения добавляются в HTML-документ с помощью элемента <img>. Для элемента <img> требуется атрибут src, который определяет расположение файла, где хранится изображение. Элемент изображения записывается так:
Обратите внимание, что у элемента <img> нет закрывающего тега </img>. Чтобы попробовать добавить элемент <img>, загрузите для примера наш логотип и поместите его в каталог своего проекта html-practice.
Чтобы загрузить изображение, перейдите по ссылке и нажмите CTRL+левая кнопка мыши (на Mac) или правая кнопка мыши (на Windows) на изображении и выберите «Сохранить изображение как», а затем сохраните его как logo.svg в каталог вашего проекта.
Затем удалите содержимое вашего файла index.html и вставьте в него строку <img src = ”Image_Location”>.
Примечание: Если вы не работали с этой серией мануалов последовательно, рекомендуем обратиться к статье Подготовка HTML-проекта.
Затем скопируйте путь к файлу изображения и замените Image_Location расположением вашего сохраненного изображения. Если вы используете текстовый редактор Visual Studio Code, вы можете скопировать путь к файлу, нажав CTRL + левая кнопка мыши (на Mac) или правая кнопка мыши (в Windows) по файлу изображения logo.svg в левой панели, после чего выбрав «Copy Path».
Примечание: Убедитесь, что вы скопировали относительный путь, а не абсолютный (или полный) путь к файлу изображения. Относительный путь отображает расположение файла относительно текущего рабочего каталога, а абсолютный показывает расположение файла относительно корневого каталога. В этом тестовом случае работать будут оба пути, однако если бы вы решили загрузить сайт в Интернет, сработал бы только относительный путь. Поскольку конечная цель этой серии мануалов – создать веб-сайт, который можно разместить в интернете, мы будем использовать относительные пути при добавлении элементов <img> в документ.
Сохраните файл index.html и перезагрузите его в браузере. Вы должны получить страницу с логотипом.
Технически в качестве путей к файлам вы также можете использовать ссылки на изображения, размещенные в интернете. Чтобы понять, как это работает, попробуйте заменить относительный путь изображения ссылкой на наш логотип:
Сохраните файл и перезагрузите его в браузере. Изображение должно по-прежнему загружаться, но на этот раз оно загружается из его сетевого расположения, а не из локального каталога проекта. Ради эксперимента попробуйте добавить ссылки на другие изображения из сети с помощью атрибута src в теге <img>.
Все же при создании веб-сайта обычно рекомендуется размещать изображения в каталоге своего проекта, чтобы обеспечить устойчивость сайта. Если изображение, загруженное по ссылке из интернета, будет удалено или перемещено, оно больше не будет отображаться на вашем сайте.
Альтернативный текст для скринридеров
HTML позволяет добавлять альтернативный текст к изображениям, чтобы сделать сайт доступным для посетителей, использующих программы для озвучивания написанного на экране текста. Такой alt-текст должен описывать изображение. Он добавляется атрибутом alt:
<img src=»https://www.8host.com/blog/wp-content/themes/wp-8host-new/img/logo.svg» alt=»This is an 8host logo, which consists of black 8 and host in front of a blue cloud.» >
Теперь вы знаете, как вставлять изображения в свой HTML-документ и как добавлять alt-текст для скринридеров. Если вам интересно узнать, как изменить размер и стиль изображения, следите за руководствами этой серии. В следующем руководстве мы покажем, как добавлять ссылки в документ HTML.
HTML Images
Images can improve the design and the appearance of a web page.
Example
Example
Example
HTML Images Syntax
The HTML <img> tag is used to embed an image in a web page.
Images are not technically inserted into a web page; images are linked to web pages. The <img> tag creates a holding space for the referenced image.
The <img> tag is empty, it contains attributes only, and does not have a closing tag.
The <img> tag has two required attributes:
- src — Specifies the path to the image
- alt — Specifies an alternate text for the image
Syntax
The src Attribute
The required src attribute specifies the path (URL) to the image.
Note: When a web page loads, it is the browser, at that moment, that gets the image from a web server and inserts it into the page. Therefore, make sure that the image actually stays in the same spot in relation to the web page, otherwise your visitors will get a broken link icon. The broken link icon and the alt text are shown if the browser cannot find the image.
Example
The alt Attribute
The required alt attribute provides an alternate text for an image, if the user for some reason cannot view it (because of slow connection, an error in the src attribute, or if the user uses a screen reader).
The value of the alt attribute should describe the image:
Example
If a browser cannot find an image, it will display the value of the alt attribute:
Example
Tip: A screen reader is a software program that reads the HTML code, and allows the user to "listen" to the content. Screen readers are useful for people who are visually impaired or learning disabled.
Image Size — Width and Height
You can use the style attribute to specify the width and height of an image.
Example
Alternatively, you can use the width and height attributes:
Example
The width and height attributes always define the width and height of the image in pixels.
Note: Always specify the width and height of an image. If width and height are not specified, the web page might flicker while the image loads.
Width and Height, or Style?
The width , height , and style attributes are all valid in HTML.
However, we suggest using the style attribute. It prevents styles sheets from changing the size of images:
Example
<img src="html5.gif" alt="HTML5 Icon" style="width:128px;height:128px;">
Images in Another Folder
If you have your images in a sub-folder, you must include the folder name in the src attribute:
Example
Images on Another Server/Website
Some web sites point to an image on another server.
To point to an image on another server, you must specify an absolute (full) URL in the src attribute:
Example
Notes on external images: External images might be under copyright. If you do not get permission to use it, you may be in violation of copyright laws. In addition, you cannot control external images; they can suddenly be removed or changed.
Animated Images
HTML allows animated GIFs:
Example
Image as a Link
To use an image as a link, put the <img> tag inside the <a> tag:
Example
Image Floating
Use the CSS float property to let the image float to the right or to the left of a text:
Example
<p><img src="smiley.gif" alt="Smiley face" style="float:right;width:42px;height:42px;">
The image will float to the right of the text.</p>
<p><img src="smiley.gif" alt="Smiley face" style="float:left;width:42px;height:42px;">
The image will float to the left of the text.</p>
Tip: To learn more about CSS Float, read our CSS Float Tutorial.
Common Image Formats
Here are the most common image file types, which are supported in all browsers (Chrome, Edge, Firefox, Safari, Opera):
| Abbreviation | File Format | File Extension |
|---|---|---|
| APNG | Animated Portable Network Graphics | .apng |
| GIF | Graphics Interchange Format | .gif |
| ICO | Microsoft Icon | .ico, .cur |
| JPEG | Joint Photographic Expert Group image | .jpg, .jpeg, .jfif, .pjpeg, .pjp |
| PNG | Portable Network Graphics | .png |
| SVG | Scalable Vector Graphics | .svg |
Chapter Summary
- Use the HTML <img> element to define an image
- Use the HTML src attribute to define the URL of the image
- Use the HTML alt attribute to define an alternate text for an image, if it cannot be displayed
- Use the HTML width and height attributes or the CSS width and height properties to define the size of the image
- Use the CSS float property to let the image float to the left or to the right
Note: Loading large images takes time, and can slow down your web page. Use images carefully.
HTML Exercises
HTML Image Tags
| Tag | Description |
|---|---|
| <img> | Defines an image |
| <map> | Defines an image map |
| <area> | Defines a clickable area inside an image map |
| <picture> | Defines a container for multiple image resources |
For a complete list of all available HTML tags, visit our HTML Tag Reference.
Как добавить в HTML картинку из папки
Вы видели какие-нибудь сайты без изображений? Да, может нам и попадутся несколько, но в наши дни это редкость. Давайте узнаем, как можно добавлять изображения в HTML-документы.
Современный интернет в значительной степени полагается на изображения, относящиеся к содержанию сайта, поскольку это помогает улучшить внешний вид сайта и помогает читателям лучше понять контент.
Веб-сайт может содержать несколько изображений, которые часто сгруппированы в подкаталогах и папках. Таким образом, важно узнать, как включить изображение в файл HTML из папки.
HTML тег <img>
Вы можете включить изображение в HTML с помощью HTML-тега <img> .
Тег <img> загружает изображение и помещает его на веб-страницу. У него есть 2 важных атрибута:
- src — указывает исходное расположение, в котором браузер будет искать файл изображения. Получив файл изображения, он загружает изображение на веб-страницу. Мы можем использовать URL-адрес (унифицированный указатель ресурсов) для отображения изображения с другого веб-сайта.
- alt — задает текст, который нам нужно отобразить, если изображение недоступно или если система не может загрузить изображение. Этот текст также помогает посетителям с ограниченными возможностями, использующих программу чтения с экрана.
Как установить источник изображения в HTML
Давайте узнаем немного больше о том, как указать источник изображения.
Базовый случай — указать имя файла изображения, которое вы хотите поместить в HTML-документ.
Браузер будет искать изображение в той же папке, в которую вы поместили HTML-документ.
Если изображение находится в папке или подкаталоге, вам также необходимо включить его в источник.
После того, как вы добавили строку /images к источнику, браузер будет искать в нем изображение flowers.jpg вместо текущего каталога.
Как добавить изображение в HTML из удаленного места
Изображения, которые вы используете на своих HTML-страницах, не обязательно должны располагаться рядом с ними. Вы можете легко добавлять изображения из удаленных мест (с других веб-сайтов или файловых хранилищ) с помощью URL-адреса.
Как использовать “.” или “..” в качестве источника изображения в HTML
Вы можете указать браузеру искать изображение в текущем каталоге, используя одну точку . в атрибуте src .
Или, если вы хотите переместиться на один каталог вверх, вы должны используете две точки .. , чтобы браузер начал поиск изображения на один уровень выше текущего каталога.